Showing posts with label Office. Show all posts

Tuesday, April 3, 2012

Jess LC Wells Collection!!

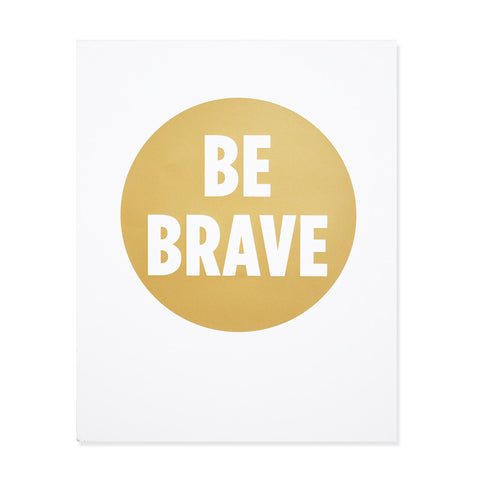
I am so excited to share this with you!! Jess from Jess LC and Makeunder My Life has partnered with Ampersand Design Studio to create four amazing prints with intention. AND she was so sweet to ask me to be a part of the new look book! I am so honored and I can honestly say I LOVE the new prints!

Jess offered us bloggers a print to feature in our own home. When I saw the prints, I knew they would be PERFECT for my office. So I purchased another to hang on either side of my TV in my office!

BrynHome

BrynQuote

The two phrases in the prints are really SO perfect for me. I am definitely a dreamer and planner and I sometimes concentrate a little too much on the future. Case in point... my husband and I are not ready nor trying to expand our family yet, but I still find myself designing both boy and girl nurseries (and may or may not have done design boards for them.) Did I just admit that?!?! Yup, big time dreamer over here! So the "Be Present" poster really spoke to me because it reminds me to be present in my life TODAY. To enjoy and appreciate what I have now and not concentrate on the future.

But I think it's also just as important to dream bigger, just like the print says. Because I'm a living testament that dreams CAN and DO come true! I'm busier than ever with my business right now and some days I can't help but just smile ear to ear knowing that I'm living my dream.

The words on these prints really hit home for me, but the design could not have been more perfect for my new office, too! Awesome!

There are a total of four prints and they are all so great. Here they are:


They are $40 each and can be purchased HERE. I was included in the look book with 7 other great bloggers, check out how they used the prints in their spaces!!

IMGP2195

IMGP2196

I put my prints in inexpensive IKEA RIBBA frames. I spray painted the frames gold and painted the mats pink (just a tad darker pink than my walls).

Here's a little office update: WE GOT THE SOFA! But........ my husband was so sweet to go get it for me from IKEA one day while I was working, but he picked up the loveseat cover for it instead of the sofa cover. So I just need to exchange the cover and then I'll share pics! Yay!
Thursday, March 29, 2012

My pretty new pillows!

Remember I showed you this picture:


Well, I picked up my pillows from my seamstress and I love them!!

photo

The bright 1990's hues make me happy. It's ALMOST finished... I'm just waiting for the IKEA sofa to get back in stock :(

photo

The other day their website showed they had one, JUST one, in stock. I drove all the way up to IKEA to get it and there wasn't any there. So then I was all bummed out so I got myself a hot cinammon roll to make my trip worth while. I won't be going back until they show good stock!

Also, somewhat unrelated, every time I bring in something new for my biz (swatches, rug samples, pillows) Henry loves to snuggle next to them. I think I could do an entire blog about him cuddling my design stuff. Cats are so weird!

These are not staged...

photo

photo

A twofer:
photo

Tuesday, March 20, 2012

Super Easy Bookcase Update

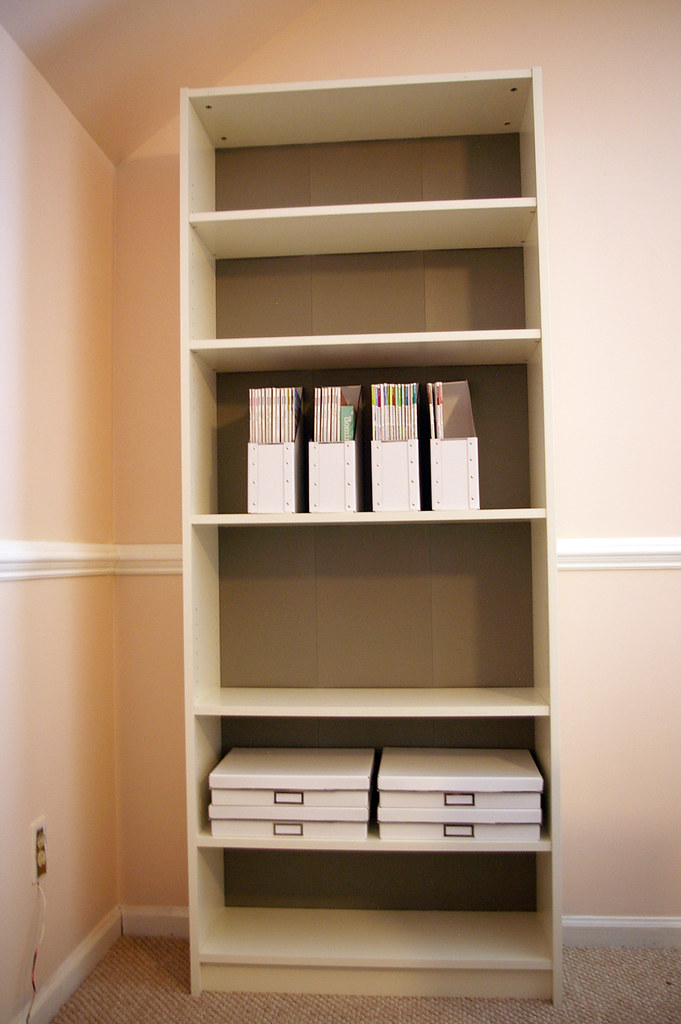
Now that I'm making my office much brighter and neutral, the dark background of the bookcases weren't working.

You can read the original post here where I painted the backs of my IKEA Billy bookcases.

BEFORE:


I really wanted to line my bookcases with grasscloth, but I didn't have enough left over from my powder room. I wanted to keep costs down, so I ordered this oyster burlap fabric from Hobby Lobby instead. 5 yards were less than $20!


I took the back of the bookcases off and used spray adhesive to adhere the burlap straight onto the backs that were already painted dark gray. Then I nailed the backs back onto the Billy bookshelves, and I was done! It took less than 30 minutes in all.

And here is the AFTER!

photo

photo

Note - normally the backs of Billy bookcases slide into those grooves, but with the burlap on them it's too thick. But that's not a problem - I just nailed them on with no problem and when there are items on the shelves you can't tell.

photo

Filled with my things:

photo

photo

I love the subtle texture!

Tuesday, March 13, 2012

A little bit of color...

-2

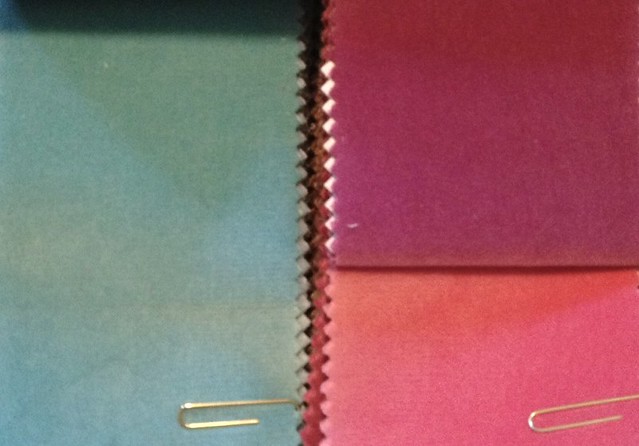
And this will be my pop little bit of color in my new office. Two solid guava pillows (pink), one berry (purple) and one turquoise on a white sofa.

Normally I would dwell on this decision for months and ultimately not commit, but in my efforts to finally get this space DONE I picked these fabrics and sent the order to my showroom in a matter of two days.

And I just realized that the colors remind me of the 90's... and I love it. I am a child of the 90's anyway!

Speaking of.. this show inspired me to be an interior decorator.


She had the coolest room EVER, am I right??

On a more serious note, this is what actually inspired my pillow fabric selection (not Clarissa Explains It All).

photo
[ Paintings I keep in my office bookcases ]


[ via ]


[ via ]

Monday, March 12, 2012

Opal In The Office

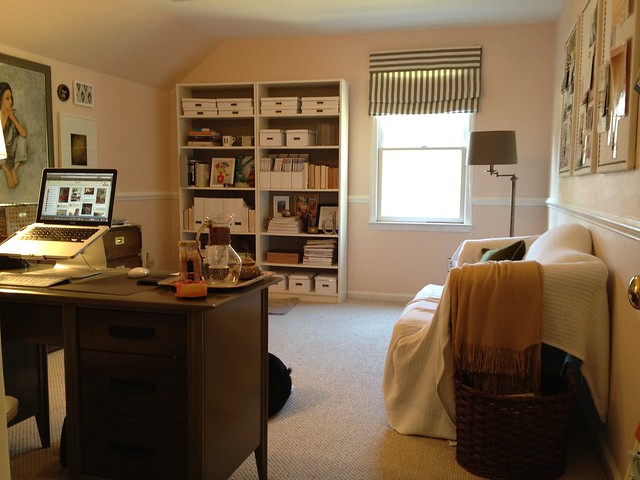
This weekend my sweet husband helped me paint my office (for the second time). The first time around I painted it pink, but after working in it for a year and a half it was just too dark. It would be perfect in a light-filled room, but this room gets hardly any light until around 4 PM and made for a pretty depressing work day.

BEFORE
(You can see in this photo below I have all the lights on and it still is pretty dark)


AFTER


IMGP2120

IMGP2118

IMGP2119

I am so happy with it! The color is still pink, but it's so nice and light. The pink is very subtle.. I think my husband thinks it's a cream color.
opal

It's Opal by Benjamin Moore.

Like my tissue box in the last photo? I was alternating.. paint, blow nose.. paint, blow nose... I'm pretty sure I have a sinus infection. :(

I have been so indecisive about my office for so long.. I just want it done! I finally had an "ah ha!" moment the other day. I realized the reason I couldn't commit to a design direction was because I do so much design IN this office that I subconsciously didn't want it to feel overly decorated. Does that make sense?

So it's going to be white and neutral everywhere with "pops" of color (ugh I hate that phrase so much). I guess sort of like this but on a much smaller scale:


[via Rue Magazine]

Just a couple more things to do... I'll have an final after soon!

Thursday, November 11, 2010

Campaign Dresser (finally!)

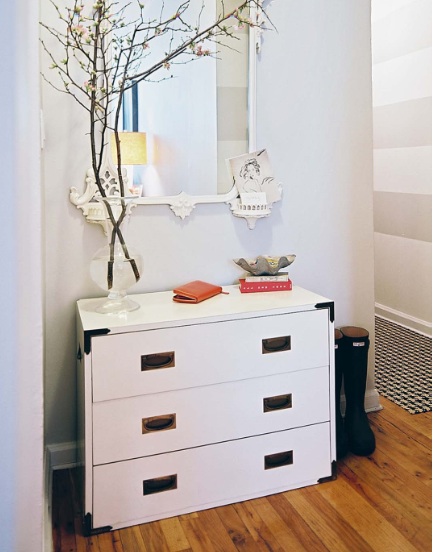
I FINALLY "finished" the campaign dresser for my office. I didn't even paint it - so you must be thinking what took so long??

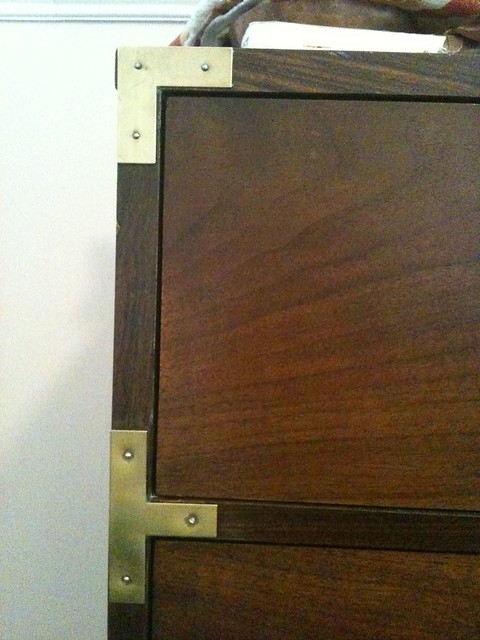
When I originally got the dresser, it looked like this (sorry for the crappy photo):


The brass was old, dingy and almost black. It looked very much like this:


[ via Lonny ]

The dark patina on the hardware looks great on the Lonny piece because it's painted white. But I wanted to keep my piece in the original wood finish and I wanted that BRIGHT brass look.

I cleaned up the brass corners directly on the piece with Brasso. It worked well, as long as I made sure not to get the Brasso on the wood. It took a LOT of elbow grease but wasn't too difficult.


Then came the knobs. The knobs were in much worse shape. Each knob took about an hour to clean. To my disappointment, when I finally got the grime off I found the brass underneath to be scratched, dull, and just plain ugly. I kept going (why I don't know) and did almost all of the brass knobs. I sat back and thought - no, this won't do.

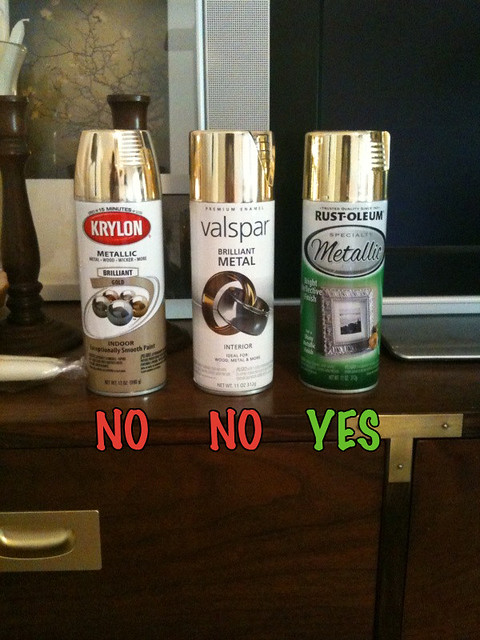
SO I decided to spray paint the knobs. Little did I know that not all gold spray paint is created equal.


Note how each cap on the bottles is the same color. I even brought my knob to the hardware store with me to match the cap. However, the paint in the first two bottles were night and day different than their caps (annoying!). They paint was dull with a brown-ish hue. Very similar to the gold on the label of the first can.

Luckily the last bottle was PERFECT. And in a matter of 5 minutes, I had perfect brass-y gold knobs.

And here is the final product!


You really can't tell (unless you look very close and examine) that the knobs were sprayed and the corners are original. Not bad for a $50 Craigslist purchase!

In case you are curious, I keep all my fabric remnants and memos in this piece.

ps - don't you LOVE how I styled it? (I'm so kidding).

Monday, October 4, 2010

My Office Inspiration Boards

Yes, I'm still working on finishing my office. I know! I can't believe it's taking so long either! But it's almost done I promise.

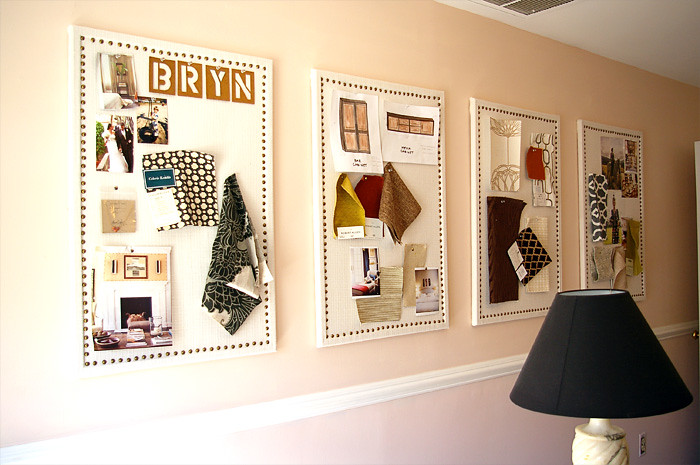
But in the mean time, I do have my inspiration boards to share with you.

I knew I wanted an inspiration board on the entire wall in my office. I was inspired by this board in the Urban Grace Interiors office:


Erika mentioned in her post that she used a 4' x 8' board. I really really wanted this size, but they are $220 and it was a little out of my price range.

Instead, I took out my trusty painters tape and taped out four 3' x 2' boards (which are much more budget friendly) on the wall to see if it would create a similar look (sorry, no picture of this). And luckily for me, it did! I purchased four of these boards at $19 each = $76, saving $140. I shipped site to store so shipping was free!

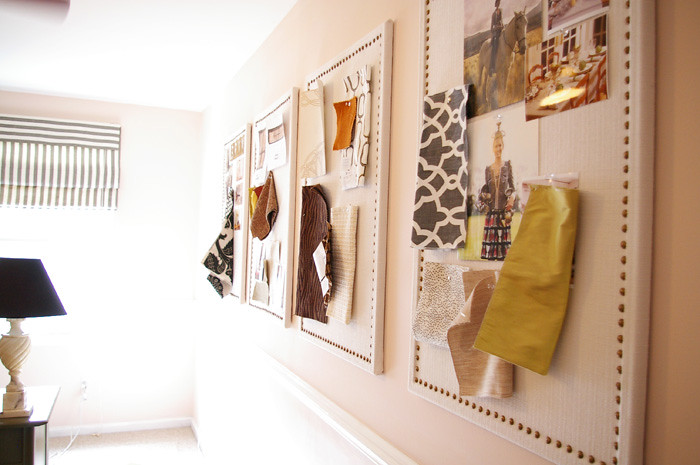
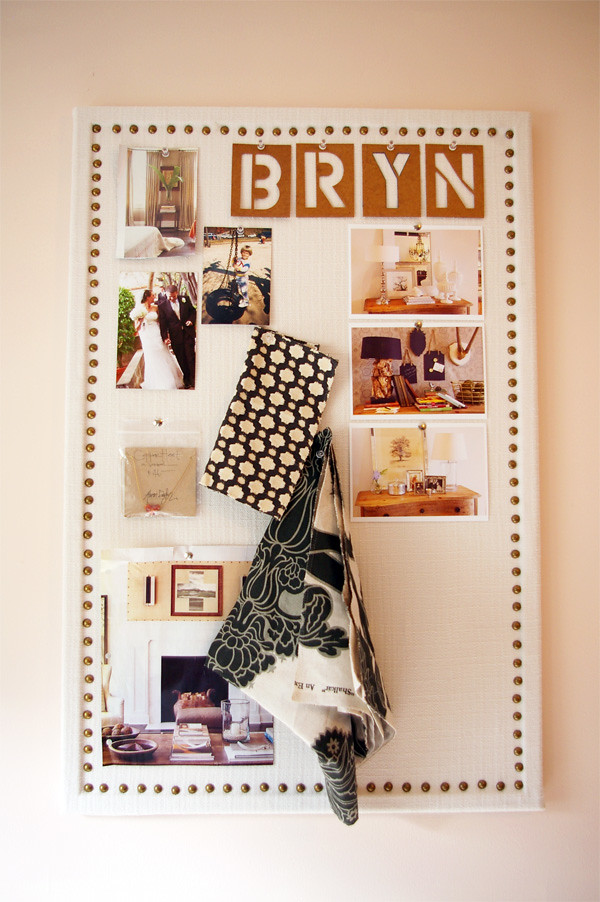
And here are my four inspiration boards:


This project was a very easy DIY. I used inexpensive linen-like cream fabric from Mary Jo's. I ordered and added antique brass nail heads from here (I found the link via Jenny). The tedious part was nailing in all those nail heads into four cork boards.


(See the three images of dresser styling? I just recently printed them out... they are from this post. Love it!)


I use the boards for both personal use (things that I think are pretty and inspiring) and professional use (fabric swatches and sketches for clients). I love being able to look up from my desk to reference swatches and stuff for my client's jobs.

Now hopefully the rest of the room will be finished soon :)

Wednesday, July 21, 2010

Easy Roman Shade Reveal

And here it is, my finished diy roman shade!

I am really happy with the result, and especially happy with the $30 price tag.


I thought it'd be visually interesting to do the flange in the horizontal stripe.


The room is coming together, and I should have a full room reveal somewhat soon. :)


Answers to a couple questions/comments:

Where did you get the fabric? I'm sorry to say the fabric is from the Los Angeles Fashion District.

I hope it's as easy as it looks! Oh it is, I definitely recommend to everyone. The entire project took me no more than an hour and a half from start to finish.

Easy Roman Shade Tutorial

If you can wrap and glue, you can do this super easy roman shade DIY project!

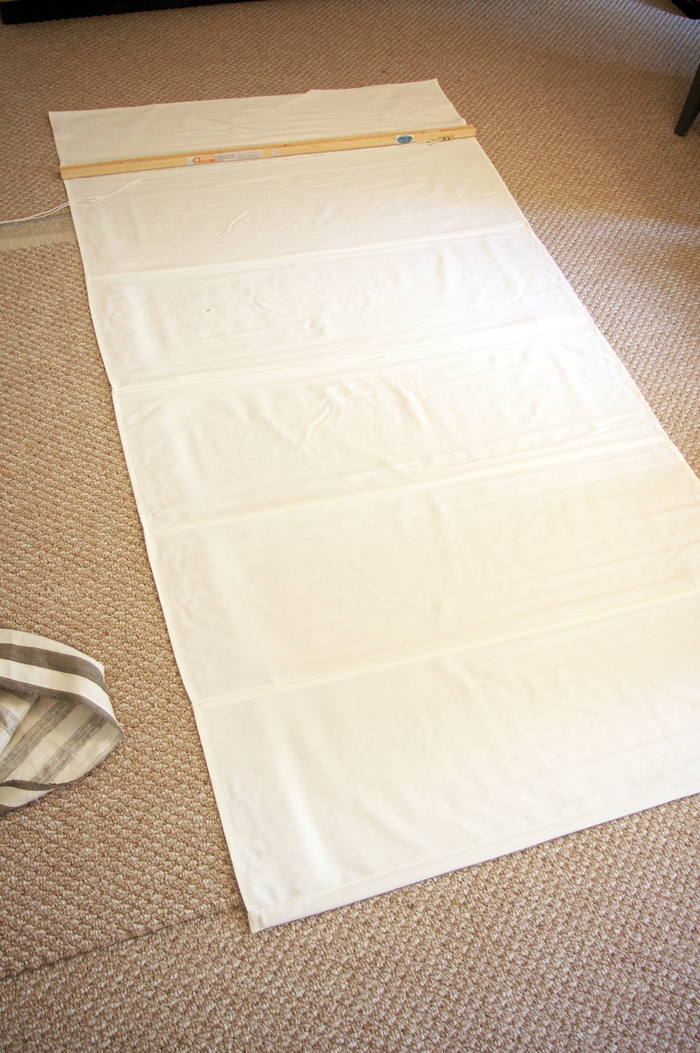
One of the reasons it's super easy is because you start with an actual Roman shade. I recommend this because it takes all the tricky engineering out of it and you'll know it will always work 100%. It doesn't matter what the roman shade looks like, as long as it's neutral enough that it won't show through your fabric.

I chose this $30 roman shade from Overstock:


For the fabric, I used some remnants I had on hand from a client project.


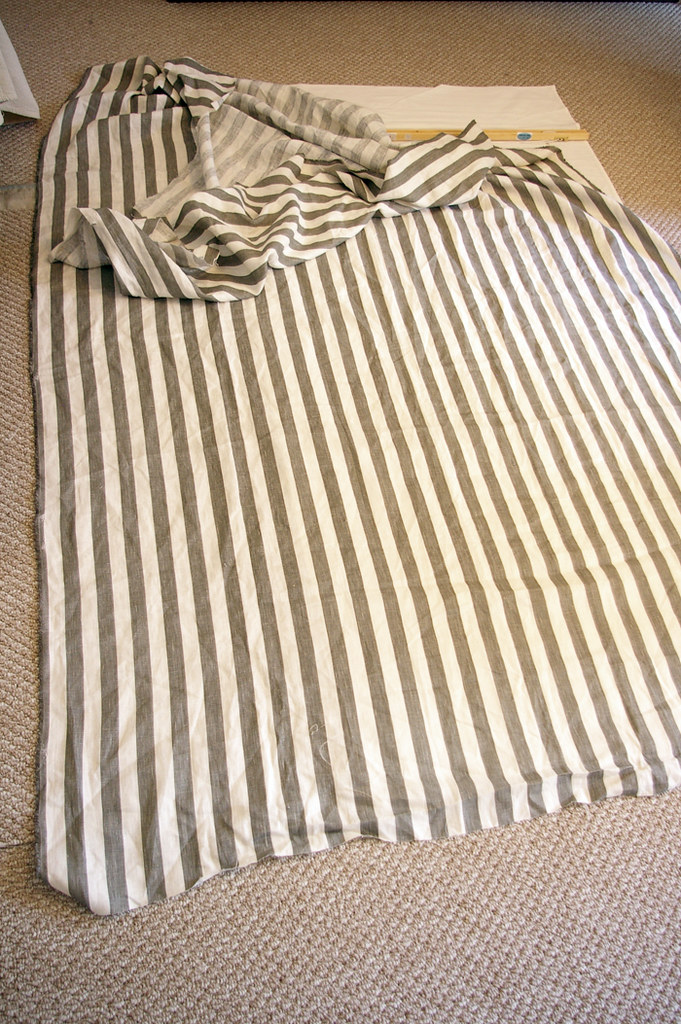
Next, I cut the fabric to fit over the roman shade and to wrap about half an inch around the sides. Then I ironed like crazy to make sure the fabric was wrinkle free.

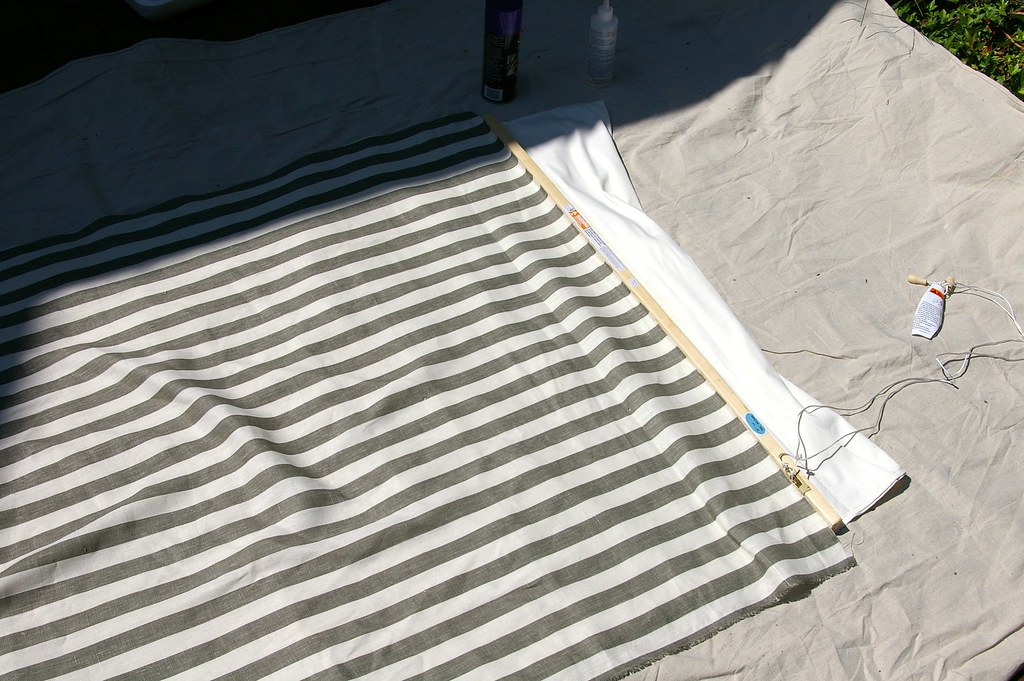
I took all my supplies outside to get ready to glue. (Unfortunately the lighting was crazy at this time of day, so these pictures aren't very good. I'm sorry!) What you'll need is spray adhesive and Fabrictac.


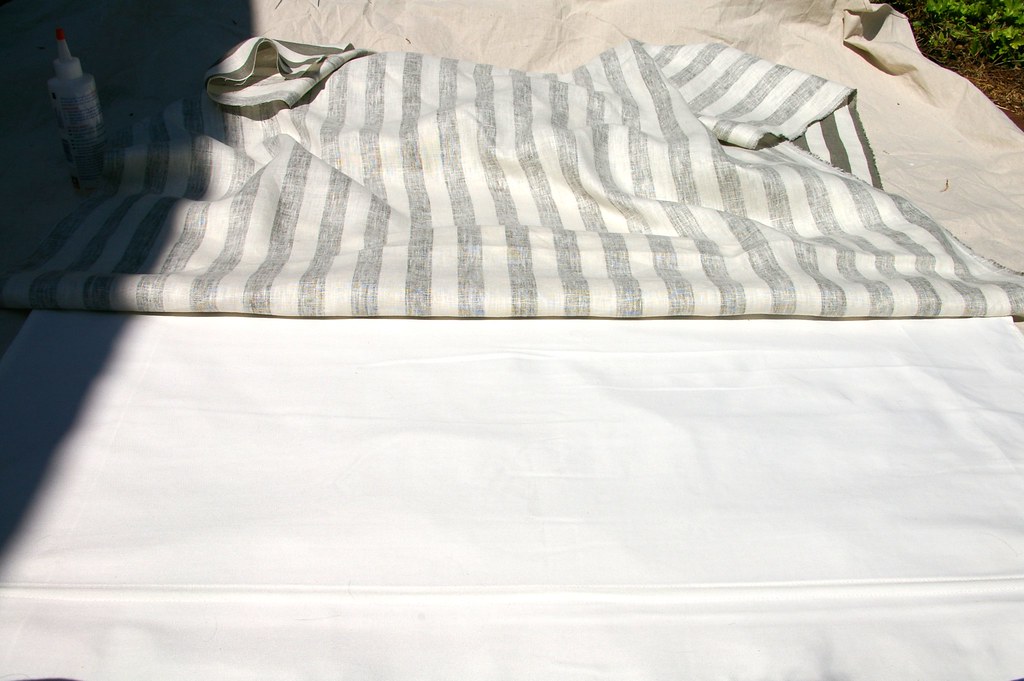
Starting from the top of the shade, spray adhesive the fabric onto the roman shade. Make sure there are no creases and that it lays perfectly flat.


Once you spray adhesive all of the fabric onto the shade, turn the shade over and wrap the extra fabric (about half an inch) around the back of the shade and glue using Fabritac. I don't have pictures of this step because working with Fabritac can be a bit messy.

My shade had a flange that hung over the top. I wrapped it in fabric similar to the previous steps.

Some notes:

- Do not use fabritac on the front part of the shade. It will show through your fabric. I recommend spray adhesive for any part of the shade that shows. Fabritac, however, is preferred for the back of the shade because it's more secure.

- I do not recommend using a striped fabric like I used because it's near impossible to get the lines completely straight. I used striped fabric because it's what I had on hand but I really had to work at it and it's still not 100%. I will say a large stripe would probably work, but I recommend shying away from stripes. This tutorial would be GREAT with any other type of print.

I hate to do this, but I'm going to keep you all in suspense and post the after in a couple hours. Not because I want to, but because I need the lighting to be better to take a good picture. So stay tuned!

To be continued....
Related Posts Plugin for WordPress, Blogger...