

One of the reasons it's super easy is because you start with an actual Roman shade. I recommend this because it takes all the tricky engineering out of it and you'll know it will always work 100%. It doesn't matter what the roman shade looks like, as long as it's neutral enough that it won't show through your fabric.
I chose this $30 roman shade from Overstock:
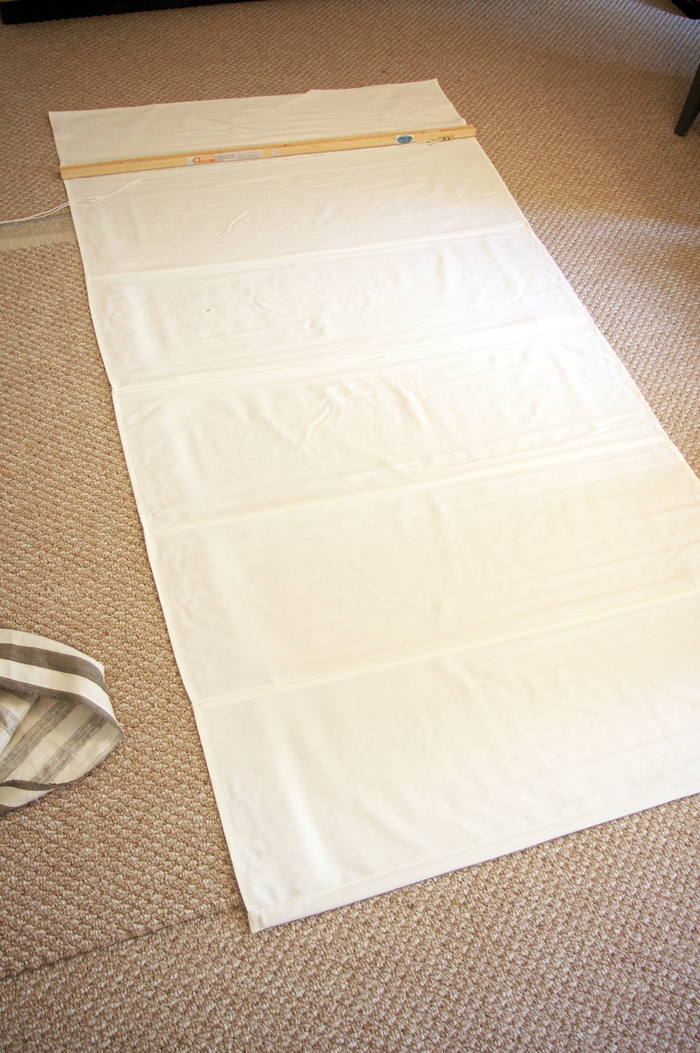
For the fabric, I used some remnants I had on hand from a client project.
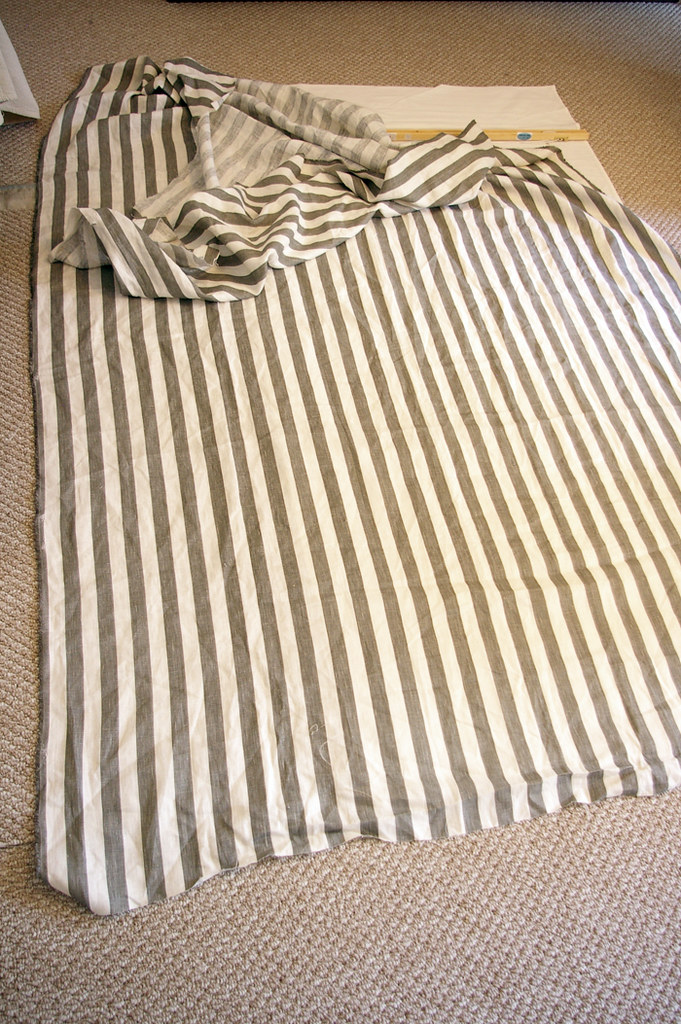
Next, I cut the fabric to fit over the roman shade and to wrap about half an inch around the sides. Then I ironed like crazy to make sure the fabric was wrinkle free.
I took all my supplies outside to get ready to glue. (Unfortunately the lighting was crazy at this time of day, so these pictures aren't very good. I'm sorry!) What you'll need is spray adhesive and Fabrictac.
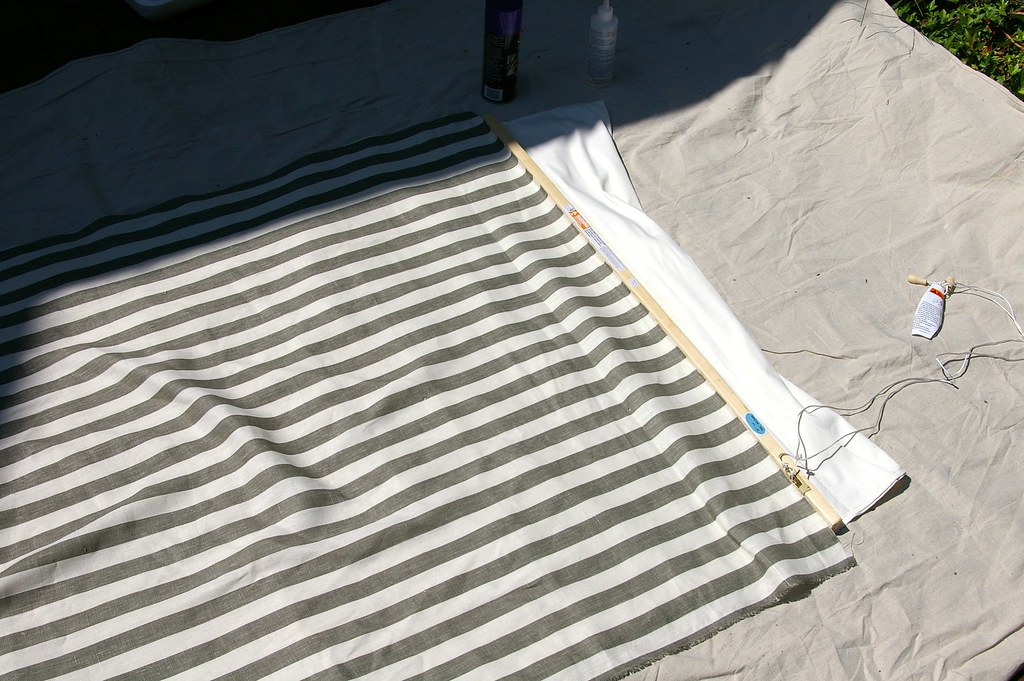
Starting from the top of the shade, spray adhesive the fabric onto the roman shade. Make sure there are no creases and that it lays perfectly flat.
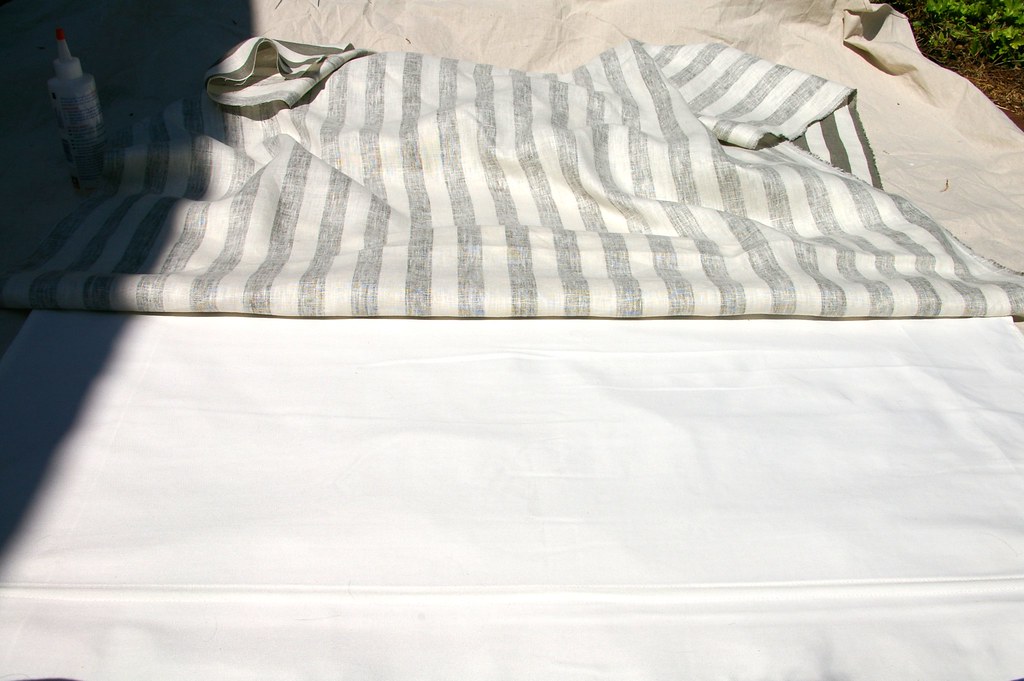
Once you spray adhesive all of the fabric onto the shade, turn the shade over and wrap the extra fabric (about half an inch) around the back of the shade and glue using Fabritac. I don't have pictures of this step because working with Fabritac can be a bit messy.
My shade had a flange that hung over the top. I wrapped it in fabric similar to the previous steps.
Some notes:
- Do not use fabritac on the front part of the shade. It will show through your fabric. I recommend spray adhesive for any part of the shade that shows. Fabritac, however, is preferred for the back of the shade because it's more secure.
- I do not recommend using a striped fabric like I used because it's near impossible to get the lines completely straight. I used striped fabric because it's what I had on hand but I really had to work at it and it's still not 100%. I will say a large stripe would probably work, but I recommend shying away from stripes. This tutorial would be GREAT with any other type of print.
I hate to do this, but I'm going to keep you all in suspense and post the after in a couple hours. Not because I want to, but because I need the lighting to be better to take a good picture. So stay tuned!
To be continued....


your tutorials are so amazing - i wish i didnt live in a rental with cheesy blinds so i could try this out!
ReplyDeleteI love that fabric, its a nice subtle stripe!
ReplyDeletewhere oh where did you get that fabric?!!! I've been looking for something EXACTLY like that forever.
ReplyDeleteI'm so so SO doing this for my daughter's room!!! I love the stripes too!
ReplyDeletegreat idea. really like the reverse stripes. I was thinking about trying to do this to the back of my woven wood shade. Its lined with a boring white fabric and I was thinking perhaps I could glue on something fun so it looked prettier from the outside!
ReplyDeleteI thought about trying this once, but didn't think it would be functional. Thanks for sharing, I definitely want to try this now. Your finished project from your current post looks great. I love the way you chose to place the fabric horizontally at the top, nice touch.
ReplyDeleteThis turned out beautifully!! (I just found your blog and I'm loving your resourcefulness and your inspirations!)
ReplyDeleteFABULOUS! I love it- a great option change up plain roamn shades that I have already in the house- thanks fo rthe great idea!
ReplyDeleteThanks so much for the tutorial, Bryn!! I am going to make some of these myself for our bedroom!
ReplyDeleteBryn, thanks so much. This idea has been floating around in my head for a while because I have 2 JCP roman shades that I don't like anymore (just plain khaki colored) and I've been wanting to do a fun fabric over them but didn't know where to start. However, my H will not be pleased since we just finally after a year spackled and filled in and painted the screw holes from when I took them down and now I have to tell him I want to put them back up lol!
ReplyDeleteA couple of days ago I actually googled instructions to making a roman shade from scratch but this is way is much better.
ReplyDeleteI will be copying you!
This is great! How many yards of fabric did you use?
ReplyDeleteThis is great! How many yards of fabric did you use?
ReplyDeleteyou made it so simple and easy....like the way you did it.
ReplyDeleteRoman shades concord, ca
This is a great idea! Already have my material and I am ready to go. Thank you.
ReplyDelete