

I'm going to share our steps through pictures... I'm sorry if this is a terribly boring post, but I hope it helps anyone out there thinking of tiling their own space. (And I apologize in advance for the poor picture quality.)
Here we go...
First we went to Home Depot to get all of our materials.

This included:
- Tile (43 square feet of tile plus a little extra in case you are curious)
- Self-leveling mix and primer
- Grout
- Hand Trowel
- Bucket
- Grout Sponge
- Tile Spacers
- Grout Sealer
- Mini Crow Bar
I was so happy when the total came to around $250 for EVERYTHING. DIY is awesome!
Now onto the steps...
1. Remove quarter round moulding aka shoe moulding.

We purchased a mini crowbar for this step. It was easy and we had it all removed in a matter of minutes!
We originally planned to re-use all the shoe moulding but it is just plain nasty. But to make things organized, I drew a map on the wall and created corresponding numbers to each piece:
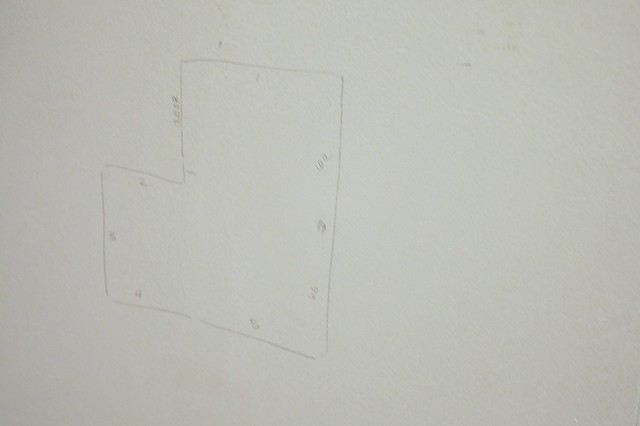
And then wrote the number on each piece of moulding so we know later on exactly where it will go:
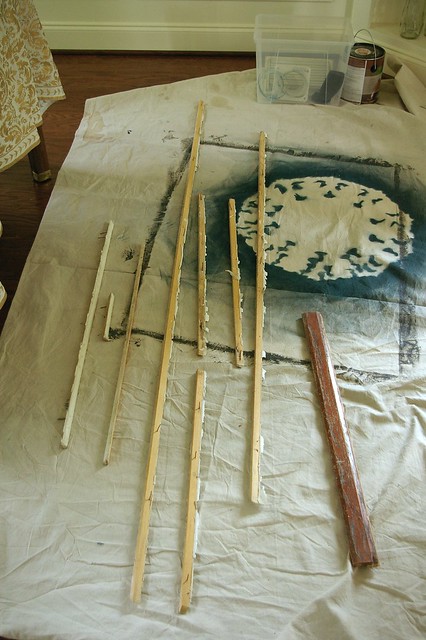
I think what we will do is bring each piece to Home Depot and have them cut new pieces to match the old pieces.
2. After shoe moulding is removed, pull up existing vinyl flooring.
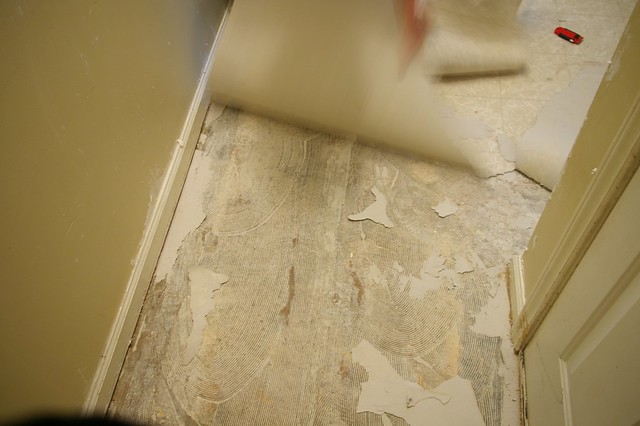

The vinyl came up EXTREMELY easy, thank god!
3. Remove any left over pieces of vinyl backing & clean the floor.
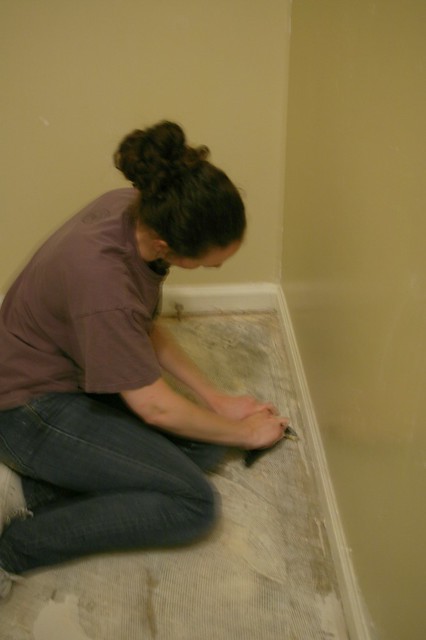
I had two wallpaper removal scrapers on hand.. MIL and I scraped the last of the flooring off that was stuck.
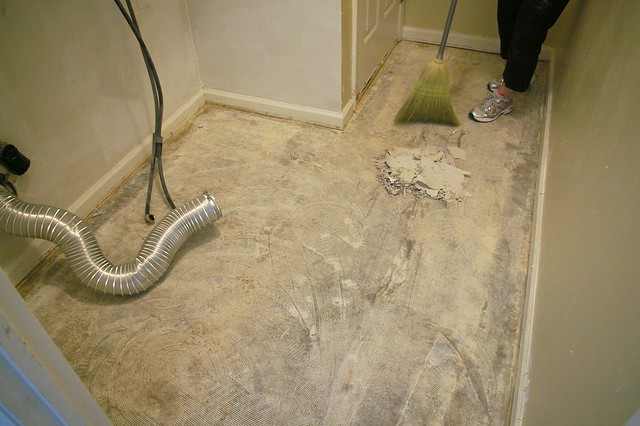
We swept up all the remaining pieces. Then I ran a vacuum over the floor and suctioned the baseboards to make sure the entire floor was clean.
4. Spread on the floor leveler primer and let dry.
NOTE: Not all tile jobs require floor leveler. We decided to use it because there was existing glue on the floor and we weren't completely sure the floors were level anyway. The folks at Home Depot recommended we use the leveler.

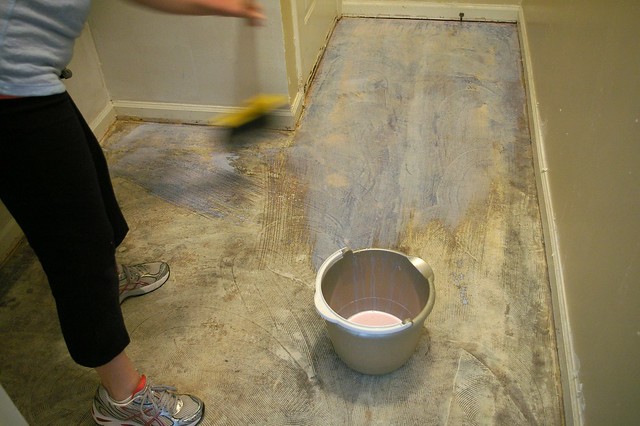

The primer takes two coats with no less than three hours of dry time in between. We put the first coat on at noon. Then we took a shower and did a little shopping. Then we put the second coat on at 5 pm. The floor was primed and ready for the self leveler mix at 8:30 pm.
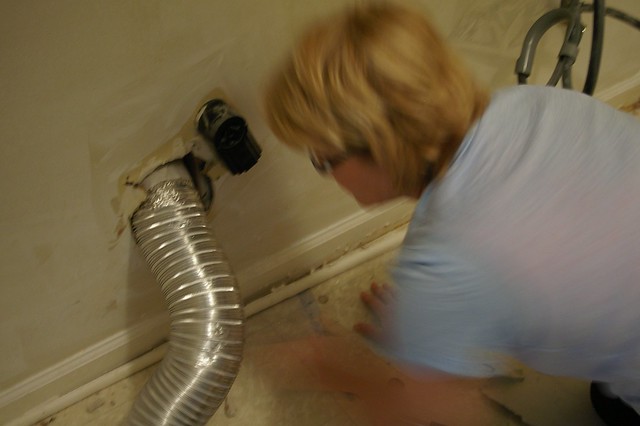
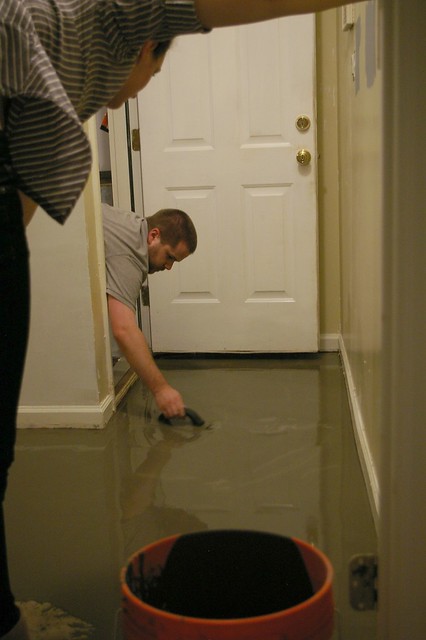
5. Mix and pour the self leveling concrete.
I was most nervous about this step. I watched this and this video to learn more about the process. It really wasn't hard at all!

The only hard part about this is the mix has to be poured within 10 minutes of mixing. This explains why I have the stupid mask still on in the following pictures (you should wear a mask when mixing concrete). It was a little stressful racing against the clock when pouring the mix, but we did it!
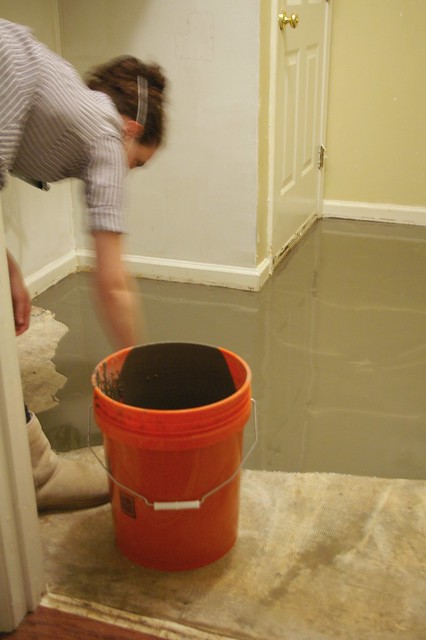
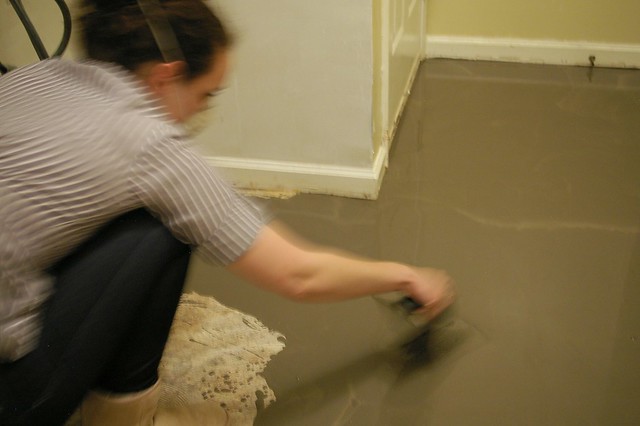
(I don't recommend wearing normal clothes, like I was, this is a very messy step. But luckily it came out!)
We did this at 8:30 at night and let it dry overnight.
Day 1 was a success! Now on to Day 2.... I'm a bit nervous!


One word. Rockstars. xoxo Shelli
ReplyDeleteKudos to you and the MIL!! What a project! I had to replace a doorknob myself the other day and I was nervous about about just doing that! But I figured it out- thanks to YouTube! Can't wait to see how it turns out!
ReplyDeleteGo Bryn! Go Mom-in-law! You are inspiring me with your DIY. Hope all goes well today.
ReplyDeleteWhoa! I'm soooooooo impressed! You guys look so organized and ready! Can't wait to see next steps....
ReplyDeleteIt is looking good! I know you are ready to finish! Just from my experience (and I hate to offer advice now that the work is done) but you often times don't need to use the leveling compound. A little bit of glue and even a small dip on the floor won't be a big deal. The thinset will often times mask that when tiling. Just FYI for future projects! (Can you tell my dad owns a tile store? ha!)
ReplyDeleteMy Mom and I tiled her bathroom floor a few years ago. We get a lot of compliments, especially from the men in our lives who are impressed that we did it ourselves. I can't wait to get a home of my own some day so I can tile my own bathrooms!
ReplyDeleteoooh I'm so excited for you! We've been thinking about re-tiling our bathroom floor sometime in the future!
ReplyDeleteI've always wanted to lay down tile. My husband is a sub-contractor, so I don't think he'll let me use my elementary skills while he's around haha. You did a great job!
ReplyDeleteLoved reading this! You're making me want to tile my laundry room now! Good luck and can't wait to see the finished room! :) - BOO
ReplyDeleteThis is so exciting! Thanks for the great play-by-play.
ReplyDeletejbhat
Yay for DIY and saying good-bye to vinyl. Looks like a lot of work, but when you have help, it's so much easier to get done, no?
ReplyDeleteWow! I wish we had used the self leveling business on our kitchen floor! It is quite uneven...booo. I look forward to seeing the rest of your project. Thanks for sharing! :)
ReplyDeleteBryn...I'm curious...how did you all get away with not using backerboard? My husband and I had to pull up the linoleum AND the luan floor underlayment and THEN apply thinset and backboard. After that, more thinset and finally the tile!
ReplyDeleteWhat's your secreat? Please do share!