Friday, April 29, 2011

Tiling The Laundry Room: Day 2

We did it! The laundry room has been tiled. Boy, day 2 was a lot harder than day 1 :) I'm completely exhausted as I write this post.

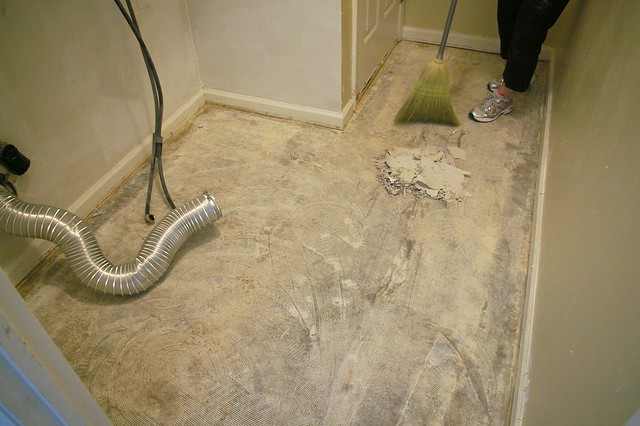
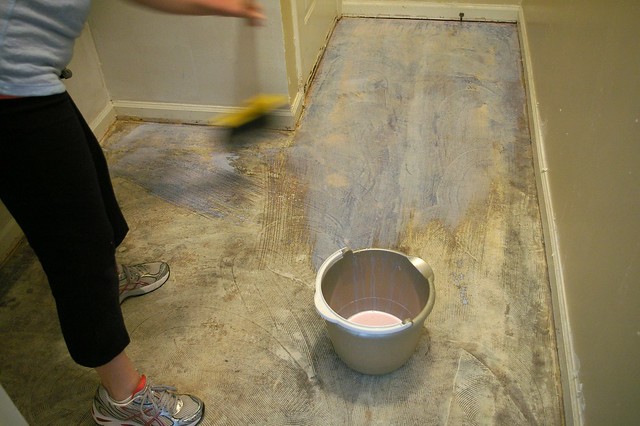
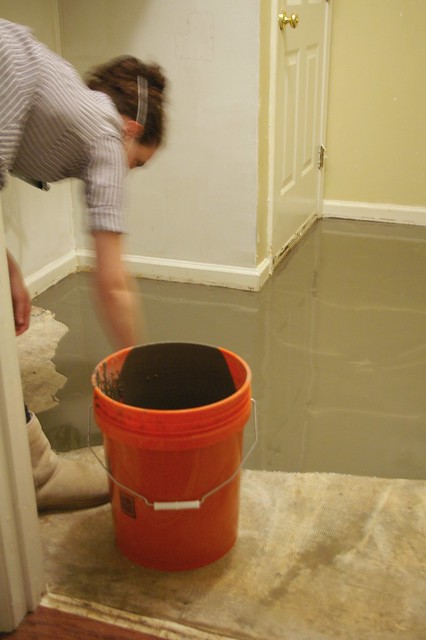
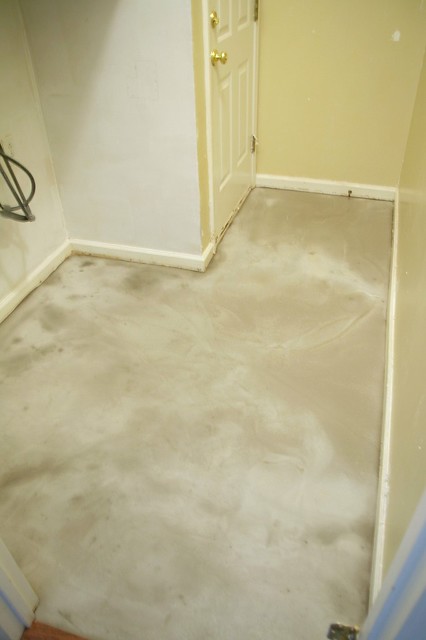
In the morning, I came downstairs to find the self-leveling floor set and dry:


MIL and I got everything ready to mix the tile adhesive. During this step we had some issues, I am not going to lie.

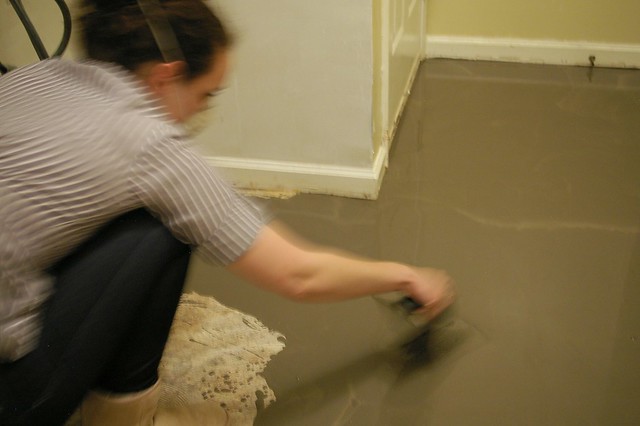
When we originally purchased our materials, an employee at Home Depot helped us pick it all out. However, we ended up purchasing the LARGE size (50 lb bag) of tile adhesive. Yesterday we proceeded to try and mix said bag in our paint bucket. There was way too much mix in a way too small bucket. And there was way too much mix for our little room! It ended up splattering EVERYWHERE and we weren't able to mix it. We tried separating it out into two buckets but in the end it wasn't salvageable. We just had no idea what we were doing.

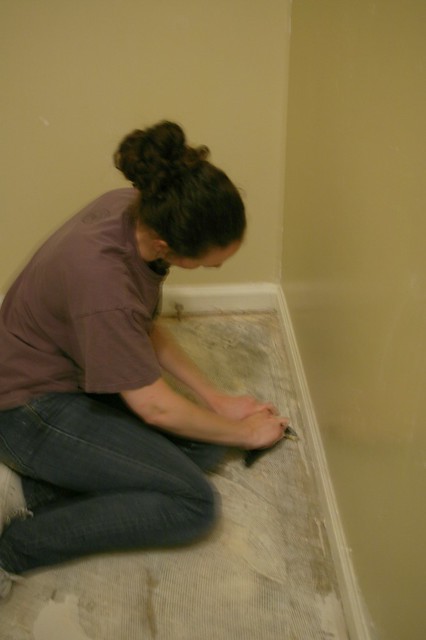
Here I am, giving up, with mix all over me and two buckets full of un-usable mess:


Well... you live and you learn. We went to Lowes (because it was closest to our house) and talked to an employee there. He showed us what size we actually needed for our small job and told us how to mix it slowly so it mixes together smoothly.

(as a side note - I really like both Home Depot and Lowes.. we just happened to have a more helpful person at Lowes for this project).

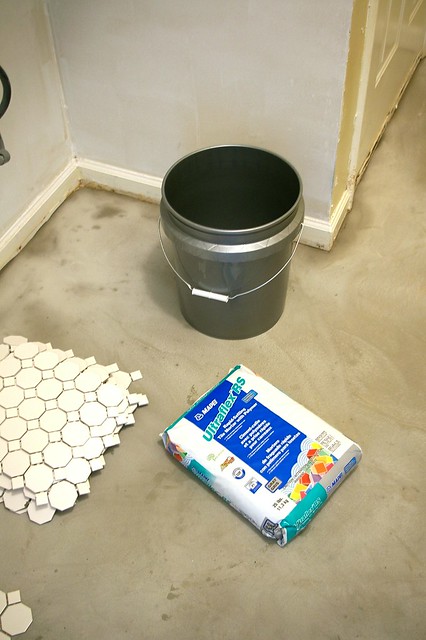
Here is a shot of the new items we got at Lowes:


We decided to mix only half the bag to make sure we were doing it right.


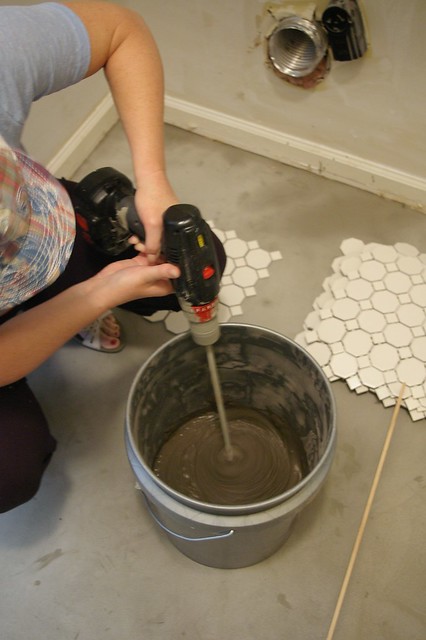
Ohhh that's what it's supposed to look like! :)

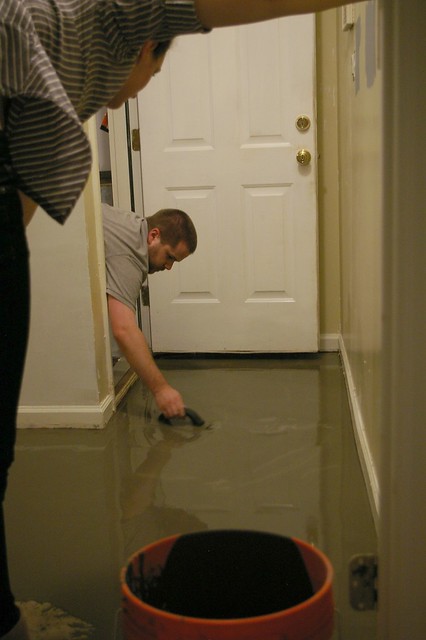
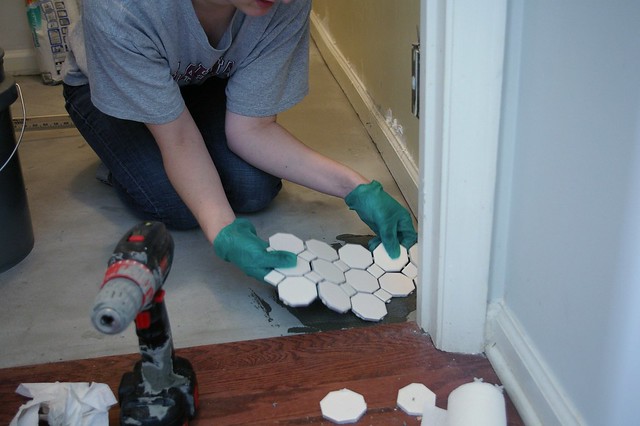
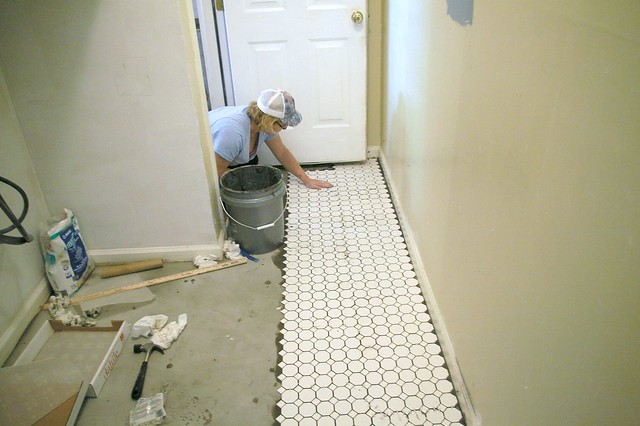
Once we got the adhesive figured out, we got to tiling!

Laying down the first piece.. man I was nervous (and I ditched those gloves in like two seconds. My hands are killing me because of it.. but it was easier to work without them):


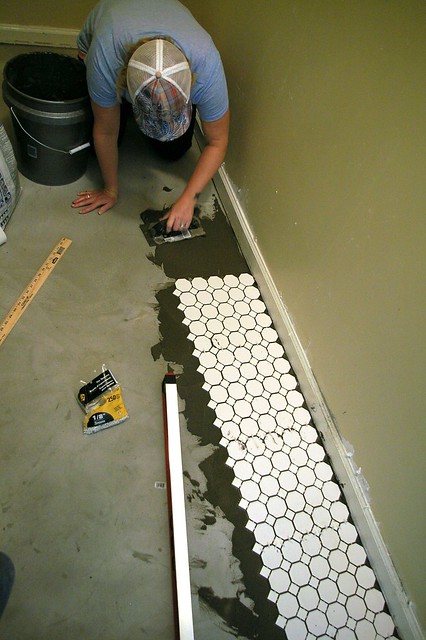
After a short while, we got the hang of it..


I borrowed a tile cutter from a neighbor of mine. I ended up only having to cut a few pieces. Can you believe it? I can't!


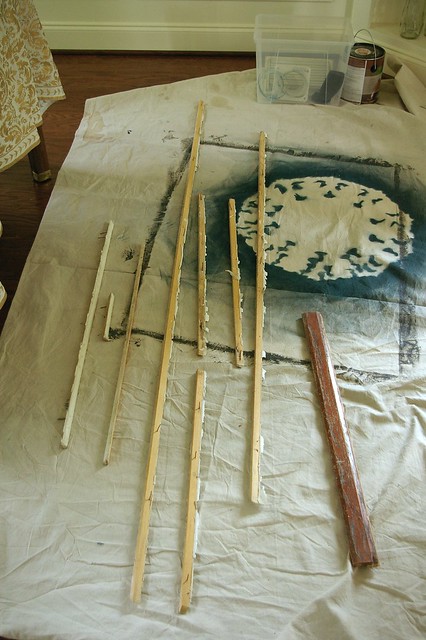
(The shoe moulding covers the small little gaps around the perimeter in case you were wondering)

And there is the almost-finished product! Of course we still need to grout, then add the shoe moulding. Oh and then paint the room, etc. But we are really happy with how it looks so far.

Phew. Time to relax!

Thursday, April 28, 2011

Tiling The Laundry Room: Day 1

Yesterday my mother in law (aka MIL) and I tackled the laundry room floor. It went really smoothly (more so than I expected!) I keep waiting for something to go terrible wrong... but so far so good.

I'm going to share our steps through pictures... I'm sorry if this is a terribly boring post, but I hope it helps anyone out there thinking of tiling their own space. (And I apologize in advance for the poor picture quality.)

Here we go...

First we went to Home Depot to get all of our materials.


This included:

- Tile (43 square feet of tile plus a little extra in case you are curious)
- Self-leveling mix and primer
- Grout
- Hand Trowel
- Bucket
- Grout Sponge
- Tile Spacers
- Grout Sealer
- Mini Crow Bar

I was so happy when the total came to around $250 for EVERYTHING. DIY is awesome!

Now onto the steps...

1. Remove quarter round moulding aka shoe moulding.


We purchased a mini crowbar for this step. It was easy and we had it all removed in a matter of minutes!

We originally planned to re-use all the shoe moulding but it is just plain nasty. But to make things organized, I drew a map on the wall and created corresponding numbers to each piece:


And then wrote the number on each piece of moulding so we know later on exactly where it will go:


I think what we will do is bring each piece to Home Depot and have them cut new pieces to match the old pieces.

2. After shoe moulding is removed, pull up existing vinyl flooring.


The vinyl came up EXTREMELY easy, thank god!

3. Remove any left over pieces of vinyl backing & clean the floor.


I had two wallpaper removal scrapers on hand.. MIL and I scraped the last of the flooring off that was stuck.


We swept up all the remaining pieces. Then I ran a vacuum over the floor and suctioned the baseboards to make sure the entire floor was clean.

4. Spread on the floor leveler primer and let dry.
NOTE: Not all tile jobs require floor leveler. We decided to use it because there was existing glue on the floor and we weren't completely sure the floors were level anyway. The folks at Home Depot recommended we use the leveler.


The primer takes two coats with no less than three hours of dry time in between. We put the first coat on at noon. Then we took a shower and did a little shopping. Then we put the second coat on at 5 pm. The floor was primed and ready for the self leveler mix at 8:30 pm.

5. Mix and pour the self leveling concrete.

I was most nervous about this step. I watched this and this video to learn more about the process. It really wasn't hard at all!


The only hard part about this is the mix has to be poured within 10 minutes of mixing. This explains why I have the stupid mask still on in the following pictures (you should wear a mask when mixing concrete). It was a little stressful racing against the clock when pouring the mix, but we did it!


(I don't recommend wearing normal clothes, like I was, this is a very messy step. But luckily it came out!)

We did this at 8:30 at night and let it dry overnight.

Day 1 was a success! Now on to Day 2.... I'm a bit nervous!

Wednesday, April 27, 2011

Nicole's Laundry Room

Today I'm sharing the new laundry room of Nicole from Making It Lovely. She used the same flooring that I'll be using in my own laundry room.

I love what she did with her laundry room, especially the happy blue door. And the red washer/dryer is so fun!!


Such a clean, fun, functional space. It makes me excited to finally have my laundry room done. Although we are using the same flooring, our laundry rooms will be very different.

After I hit publish on this post, my MIL and I are heading to Home Depot to pick up the flooring supplies. I can't wait to get started!

Tuesday, April 26, 2011

A room for two sisters

Recently I created a bedroom design board for two little sisters. I love designing for children, it's just plain fun!

Their mom asked for fun, sophisticated, girly but not TOO girly (i.e no pink). Here is what I came up with...


I'd like to note that not one item in the room is from a children's store or section. I think the best children's rooms are made with (inexpensive) adult things put together in a playful way!

Monday, April 25, 2011

A Feeling (part two)

I always ask clients to send me inspiration pictures. Specifically, rooms that they like the "feeling".

Here are some rooms that I really love the "feeling" of (specifically family rooms + offices.. because those two rooms are next on my "to do" list.... which is never ending).


[ unknown]


[ home of emerson made ]


[ southern living ]


[ high gloss magazine ]


[ unknown ]


[ via little green notebook ]


[ via little green notebook ]


You can see more "feeling" pictures here.

I also have a confession - my master bedroom is taking longer than I had planned. But the truth is, it's a very personal space and I want to put my heart into it... not just finish it quickly so I can call it finished. I've been undecided on what type of window treatments to do... panels? roman shades? bamboo shades? I don't really know. My settee is currently getting reupholstered. I've also planned on some new artwork on the big blank wall that I was going to leave blank. But I decided it needed something because the room is feeling heavy on one side. Oh and I also need a mirror!

BUT my mother in law gets in tomorrow. I'm going to share our trials and tribulations of putting in tile for the first time. Unlike my master bedroom, the laundry room will be finished quickly! (that's the plan anyway haha).

Friday, April 22, 2011

A new lamp

I have been planning on getting this lamp in the blue/green color from Pottery Barn for our family room:


But the other day while at Home Goods I found another lamp that I was drawn to. I picked it up and took it home to try it out.

It's not normally a lamp I like.. I'm not usually a fan of the rounded "ball" type lamps, but like I said I was drawn to this. The colors went really well with the space, and I simply just liked it.


What do you guys think? I like the color and height.. I am just a bit hung up on the shape still. But I love the pottery glaze on it.. I feel like it really adds "warmth" to the space. Plus it was $59 vs the $99 of the PB lamp. I think it's a keeper! Much better than the old one (that you can see here if you are curious).

I also added a couple frames to the living room. I took them to a client, but they didn't work. I tried them out in my space so I decided to buy them for myself. This job is dangerous like that!! But again, it's little things like pretty frames that make a space feel like home.


I have a confession - we've been married for almost four years and I've never had a wedding picture of us out! So this is the very first one. I love this picture - it was the moment they announced us husband and wife and we were just so excited. It makes me smile to think about it. In the other frame I want to put a little picture of Char but haven't gotten to that yet.

Speaking of Char, you dog lovers will appreciate this. She is such a sweet girl and always follows me wherever I go - which is why you will see her in a lot of my pictures! She's also VERY LAZY. In the series of pictures above you can see her right after she got on the couch, and then the next picture as she laid down and is yawning. And I snapped this as I finished taking pictures of the lamps:


Lazy girl! :)

And yes, we let her on the furniture. Don't judge.

Thursday, April 21, 2011

Just when I thought...

Just when I thought I was over ikat... Schumacher came out with this:


Pattern Kandira in Fog, Ash and Greige

There is nothing like seeing a new fabric you love that hasn't been played out everywhere!

ps - I love this just as much:

I like that!

One room (among many) that stood out to me in the new Trad Home was this one:


It appears that the moulding on the walls were painted with a teal middle. I love this! It really finished this room.

This concept is nothing new. I'm sure you've seen it done a lot on HGTV and on blogs, but I really like it. Here is another example from Lonny:


If you watched Design Star, you'll remember they did it in this room:


There is one thing I really like about this - artwork/mirrors can overlapp the "moulding" (as seen in the Lonny picture with the couch). You can't really do that with the depth of traditional moulding.

This is on my design bucket list - I hope to do it someday!
Related Posts Plugin for WordPress, Blogger...