

Here is a little tip to help you fit any piece into a store-bought frame and add a little personality with paint.
The poster that I framed this weekend was actually picked out by my husband! Major props to him! It is special too, because it's a wine map of California. One thing we loved doing in California was driving to Temecula, a southern California wine country.
Anyway, the map is an odd size so I did a little diy project to get it to fit into this frame:

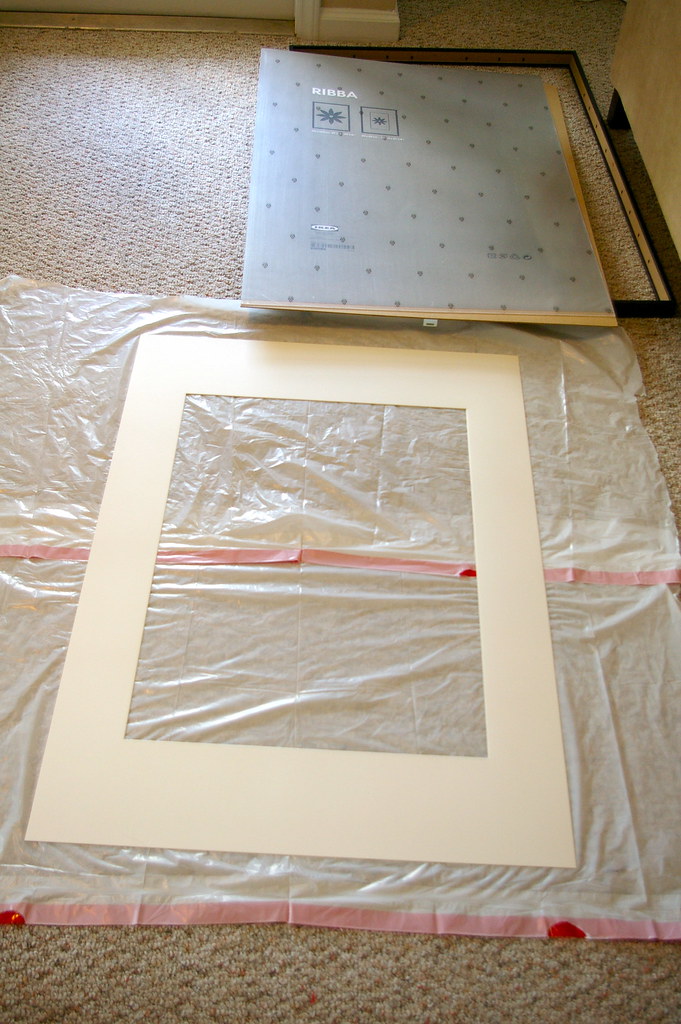
Like a million other decorators, I love IKEA's RIBBA frames. As you can see, they come with their own mats.
First, you can pick out paint for your mat. You can use acrylic paint, but since I practically have a paint store in my garage, I always use latex paint for my projects:
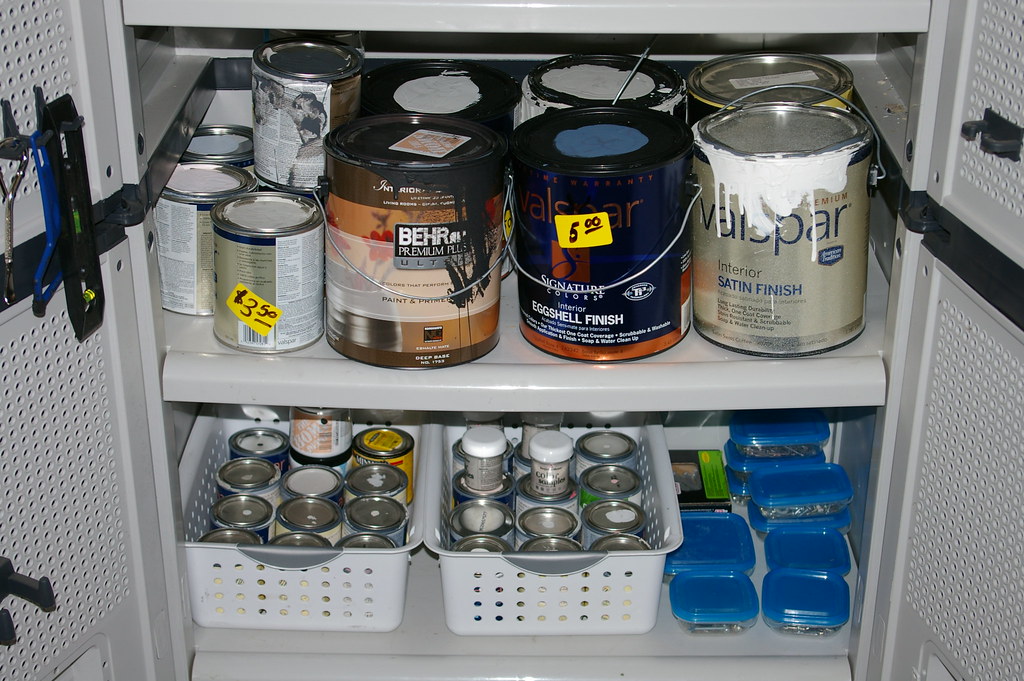
(I don't recommend using gloss paint though)
Then, prep your mat to be painted:
I brought up three colors, and decided on the medium/dark gray:

I like to use the cheap foam brushes for painting the mats. They work perfectly:
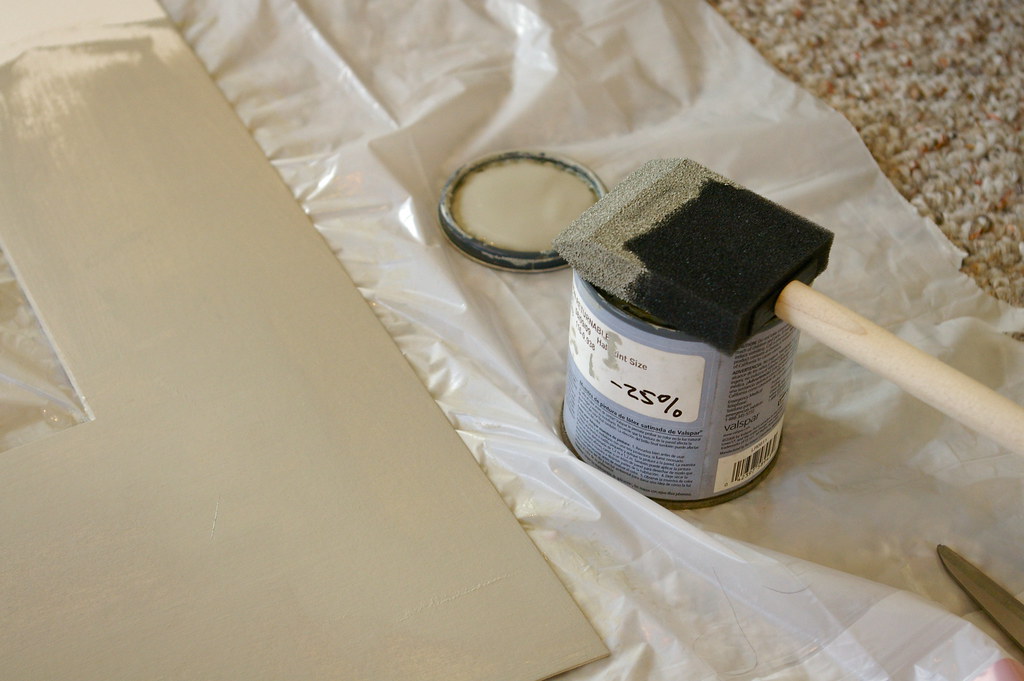
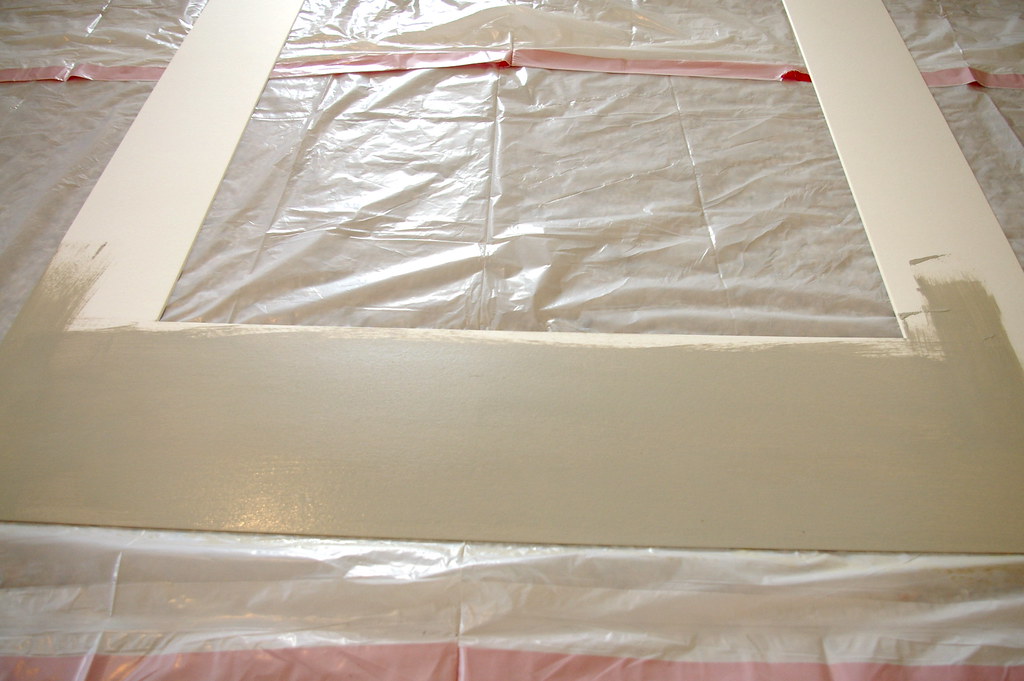
I like to do two coats.
Okay, now to fit the odd size print - put the print ON TOP of the mat! Center the print over the mat, and secure with double side tape.
This will allow you to put any size print over any size mat, as long as the original opening of the mat does not show.
And the result!


I guess I missed something... How does changing the color of the mat resolve the size problem?
ReplyDeleteAnon - I did explain in the post, but I just revised it to be a little more prominent and added bold. Thanks for pointing it out!
ReplyDeleteThanks for the tip on painting the mat, etc... It looks great! Now go to Aaron Brothers and buy a piece of non-glare glass for that frame. It ups the price a bit, but they keep them on hand in the store in lots of sizes and it's still way cheaper than custom. :)
ReplyDeleteI have the exact problem this weekend with the same frame, yet I never though of this idea. Thanks. (and I love the painting idea).
ReplyDeleteGreat idea! Thanks for sharing!
ReplyDeleteOh awesome! I have a painting I did years ago that is an odd size, and have wondered how to make it look better in a frame. Thanks for the tip!
ReplyDeleteAwesome! Thank you! I have been looking for a solution for a few prints and that looks great!
ReplyDeletegreat idea and so simple. why didn't i think of that! :-)
ReplyDeletelove it. you chose a great color.
ReplyDeletethat map os really pretty, by the way.
Brilliant! So simple but works like a charm :)
ReplyDeleteGreat idea - custom mats can be super pricey, especially at places like AC Moore. Their framing dept engages in highway robbery, IMHO.
ReplyDeleteAs a fellow Temecula, Paso, Napa, Sonoma...all of CA wine lover...I LOVE this map!! Where did you find it?
ReplyDeleteThanx for sharing the vintage printables website. I believe that is where the new art for my bedroom will be coming from! Love the frame.
ReplyDeleteUh! Where was this post when I needed it last year? :-) No, but seriously thanks for posting. Why couldn't I have thought of that?
ReplyDeleteLove it! I have several pieces of artwork waiting to be framed, but they are all weird sizes. No problem now! Thanks!
ReplyDeleteThat's awesome, Bryn. Thanks for sharing your genius :)
ReplyDeleteI have had a framer cut an IKEA mat to the opening I needed for $2. He wasn't going to charge me at all, but I made him take all the cash I had. Pretty good deal!
ReplyDeleteVery nice - WAY easier than trying to mess with the mat above!
ReplyDeleteI noticed in your case, the map size and the mat size were in proportion, so there was approximately the same amount of mat showing on all sides, under the map. Would it still look good if you had say more mat at the sides than the top and bottom? I have one of those funny European sized pictures that I would like to try this with but I know that the picture is taller and thinner than our standard mats and frames. I'm just curious if you think it would still look good.
ReplyDeleteLove your map, by the way.
Good job by your hubby! I've have mats specially cut to fit a standard sized frame, which is a lot less expensive than having the entire thing framed. And I think it can be cool to have a slightly larger border at the bottom, for example!
ReplyDeleteI love this idea - I am looking to take some frames/mats that I have and put new artwork in them, and this idea definitely opens up my options as far as sizes I will be looking at. Thanks!
ReplyDeleteLove this idea! One of those ideas that you wonder why you didn't think of something so obvious. I like the effect too, it makes it feel like you've had the piece "floated" over the mat which you can have your framer do for you if you want to preserve the edge.
ReplyDeleteGood job on colour, the contrast is perfect!
Anon - I did explain in the post, but I just revised it to be a little more prominent and added bold. Thanks for pointing it out!
ReplyDelete