Showing posts sorted by date for query corkboard. Sort by relevance Show all posts

Thursday, April 22, 2010

Design Board... in real life

Many of you have seen my e-decorating design boards here on the blog. If you haven't, you can click here to see some.

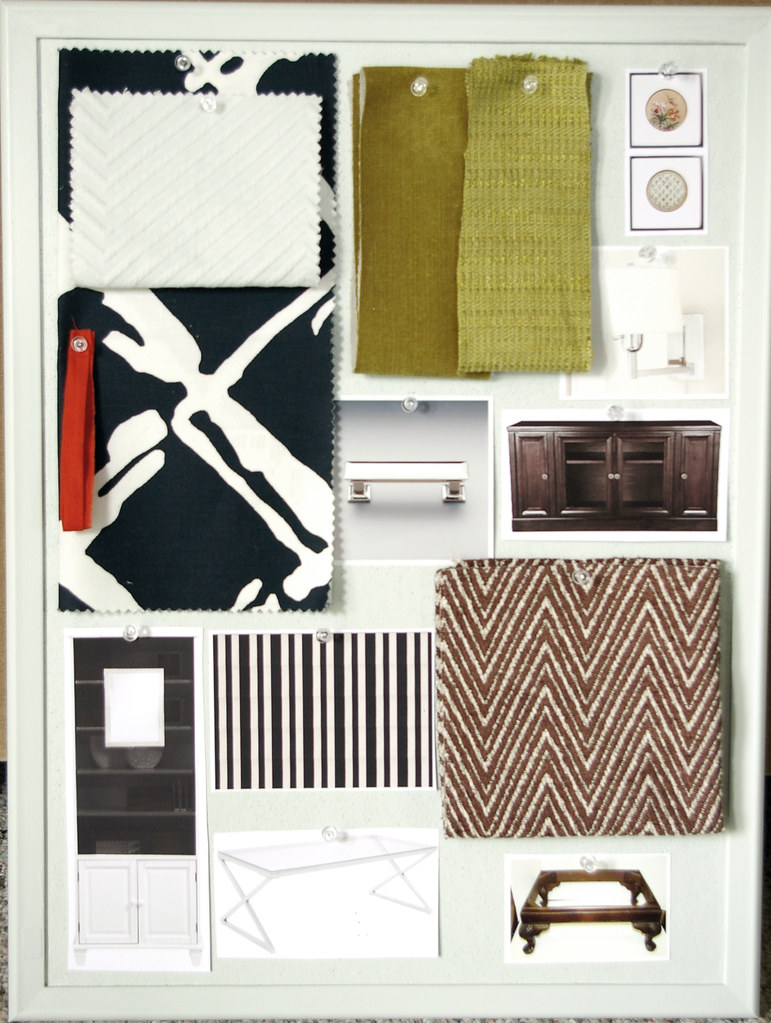
I thought it'd be fun to show you a "real life" design board I did for one of my Charlotte full service design clients.


As you can see, it's very similar to my e-decorating design boards. One thing I do is paint the corkboard the color of the room; I think it's much better to see the color painted than on a small swatch.

My clients loved the plan - I cannot wait to see it come to life!

[I literally just realized the colors in this room are very similar to my blog - haha! Totally unintentional.]

Wednesday, April 21, 2010

DIY Nailhead Corkboard

One of my local clients and new friend Sarah asked me if I could do something similar to Erika's fabulous inspiration board:


And I said, sure I can!

The process was actually much simpler than I thought and it turned out really nice.

The materials involved are:

Corkboard (we used a 3' x 4' from Staples)
Fabric (we used ivory linen)
Nailheads (we used these)
Hammer
Spray Adhesive
Staple gun
Iron

Steps:

1. Iron your fabric like crazy to get all the wrinkles out (especially if using linen)
2. Spray adhesive the fabric onto the cork section of the board only, leaving the moulding trim unglued.
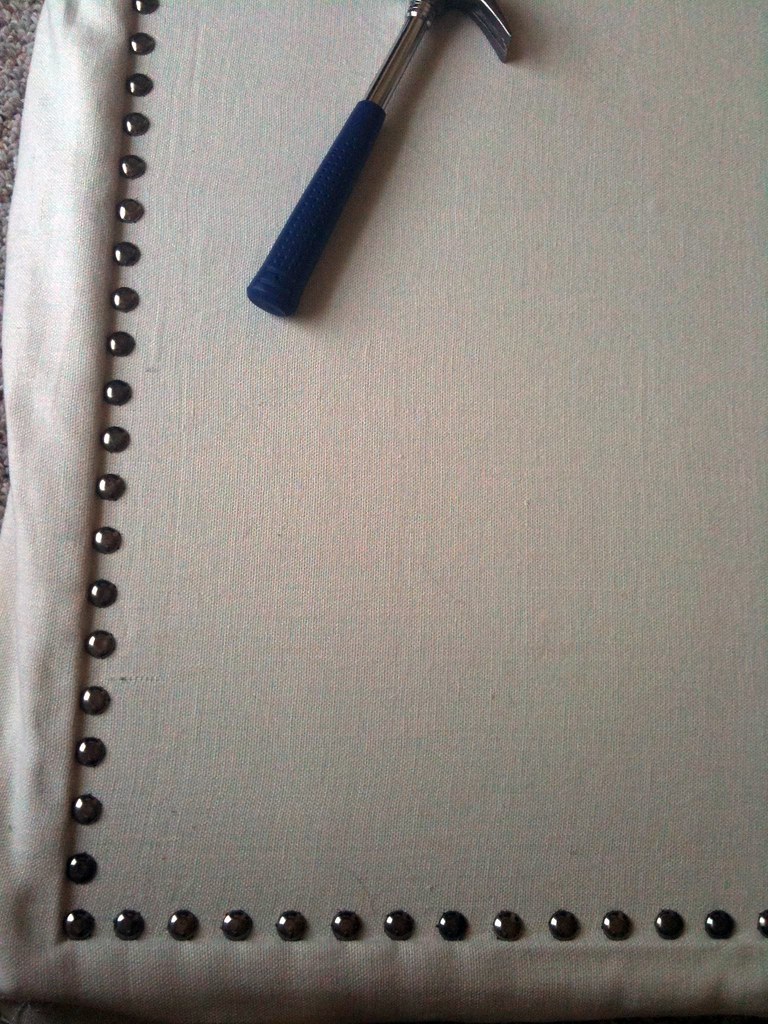
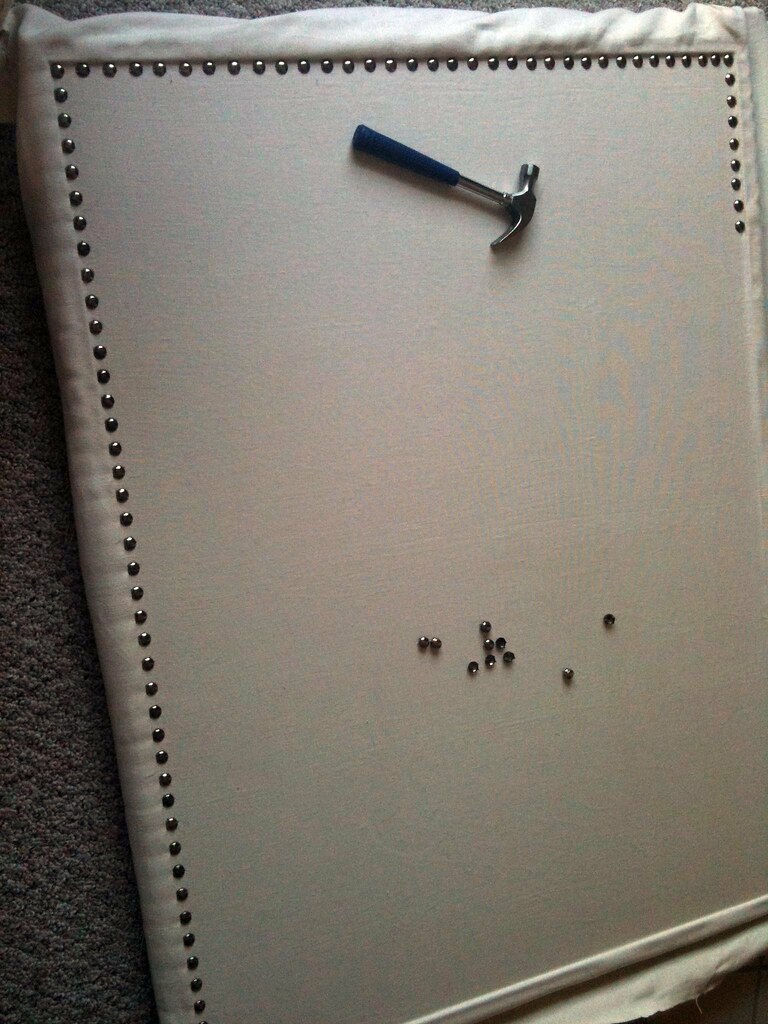
3. Nail in the nailheads with the hammer- I measured the width between the nailheads with the width of my pinkie finger. This was easy and assured that everything was even :) Go along the line of the board's moulding trim and you will get a straight line.
4. Spray adhesive the fabric onto the moulding
5. Staple gun the fabric onto the back of the board and you're done!

I didn't take pictures of the entire process.. I grabbed my iPhone mid-way through to snap a few pictures. I'm really bad about taking pictures for my DIY projects... I know, I need to work on that. Bad blogger!


[It never fails. When you have a black dog, there will always be black dog hair in my pictures.]


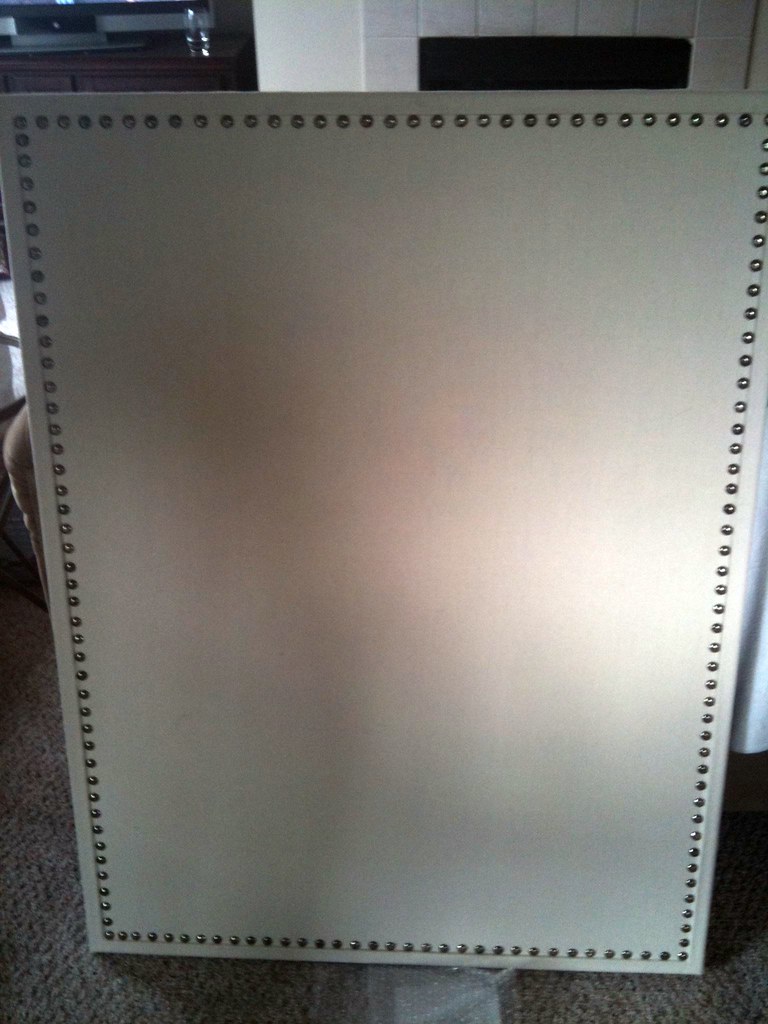
The finished product!


Yes, I am aware of the terrible picture quality. But I got a promise from Sarah to get pictures of it hung :) I'll be sure to share with you when I get them!

Also, if you are local and want me to make one for you - shoot me an email.

Wednesday, February 24, 2010

From The Desk Of..... bryn alexandra interiors

When I originally planned to work from home, I knew I had to develop good working habits from day one. And that includes working from a desk 9-5. I was worried I'd get into the habit of lounging on the couch in my pj's eating potato chips with my laptop on my lap.

Surprisingly, I have come to really love sitting at my desk all day and working... I don't have to force myself at all! Maybe because I finally love what I do? Or maybe because I love my desk so much? or both :)

One of the biggest improvements to my desk is my mousepad I DIY'ed. Normally I don't use a mouse pad, but this apartment complex painted their counter tops with texture - boo. So a mouse pad was a must (I haven't had one since high school I think???)

The diy aspect of my new mouse pad came from the amazing mind of High Street Market. First, you must click here and check out what she did to an IKEA 99 cent mouse pad. Here, I'll post some pictures:


One of my pet peeves is having to move the mouse over to keep from falling off a mouse pad (hence why I never used one), so I decided to make a HUGE mouse pad. I don't have pictures of the "during", but the materials consisted of:

- left over cork board (from my diy corkboard project)
- fabric (small remnant left over from a client project)
- spray adhesive
- scissors

Easiest DIY ever.


Some misc. comments:

- I love my desk chair. It was a splurge but well worth it since I'm in it all day long.

- I also love my second screen. It's a left over from my husband's college years and by no means fancy, but it does the job and is PERFECT for idea boards (you can see one I'm working on now)

- See my little bird frame in the first picture, behind my lamp? I just got it on sale at Anthro... I got it because of the crown - now that I live in the Queen City and all :)

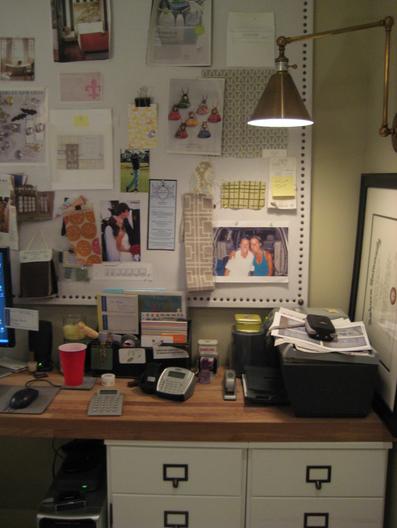
- My Inspiration Board is coming along! I love adding tear sheets and pictures to it. You'll notice I re-did it with my spray adhesive, and had to take the ribbon off. I may add it back someday when I get around to going to Hobby Lobby.

That's all. Let me know if you DIY a mousepad, too!

Thanks again for the idea, High Street Market!

EDIT - I just got a fun comment: "Looks great! I love the chair as well. What type of candle do you have burning? Also, do you work to music? What type?"

To answer the questions.. the candle I have on my desk is my favorite candle I have right now. It's called DANI in the Zante Currant scent. I only listen to music when I'm designing.. I can't have other words going on when I'm writing (emails, blog posts) or else I get too distracted (A.D.D.??) But it's almost always Regina Spektor :)

Thursday, February 11, 2010

Inspiration Board

For a while I've wanted an inspiration board but when I had a 9-5 along with my side decorating gig, I never had time for one.

Erika of Urban Grace Interiors has a huge one that long ago become my favorite:
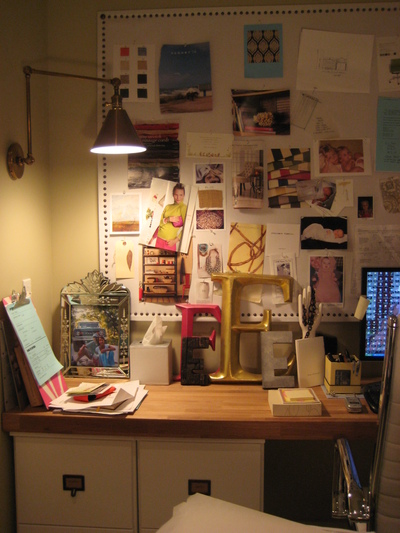


Here are some of my other favorites...


When we first found this apartment, I grumbled a little at the built in desk, how college-apartment is that? However, I turned lemons into lemonade and am working on making it the center of bryn alexandra interiors... because I don't want to get in the habit of working from the sofa (as nice as it sounds).

Luckily, the built in desk had the perfect rectangular nook for an inspiration board. See the "before" here:
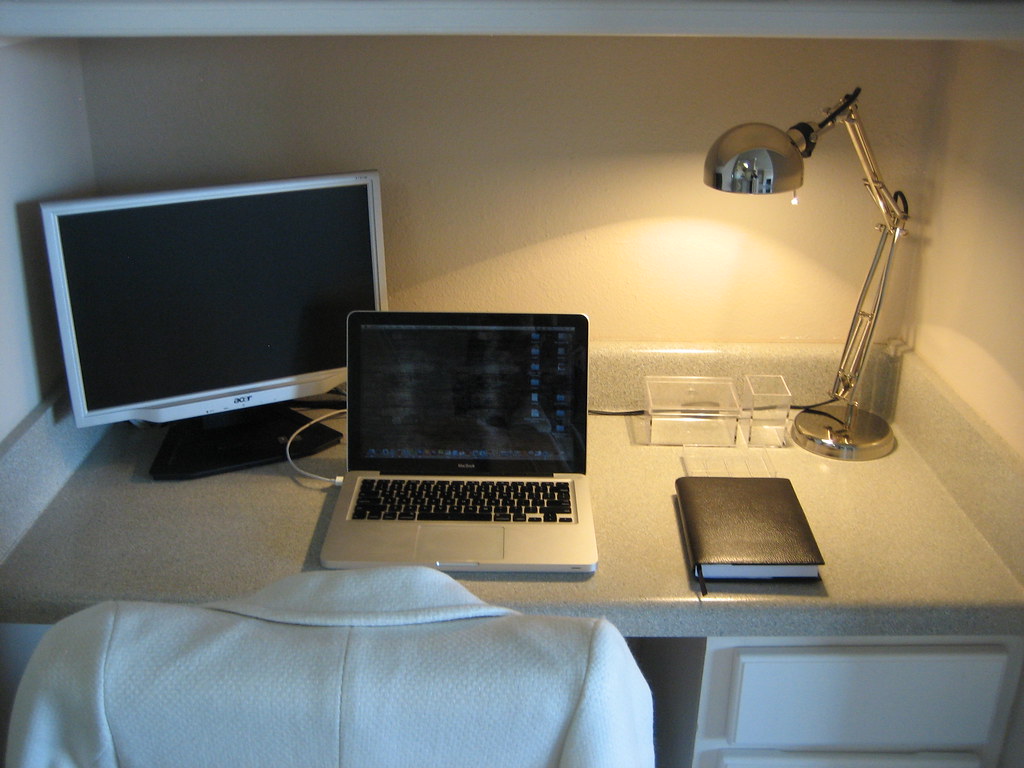


I went to Hobby Lobby to pick up corkboard, black burlap, some glue and ribbon.


Then you just wrap and glue your fabric over the corkboard, and it's as simple as that. Then I glued on the ribbon trim outlining the board.

I hung the board onto the wall with no-hole picture hangers (as seen in the above image).

Here is the after, although I should say "work in progress" because I don't have any inspiration pieces yet other than the magazing page I tore out to demonstrate the use:
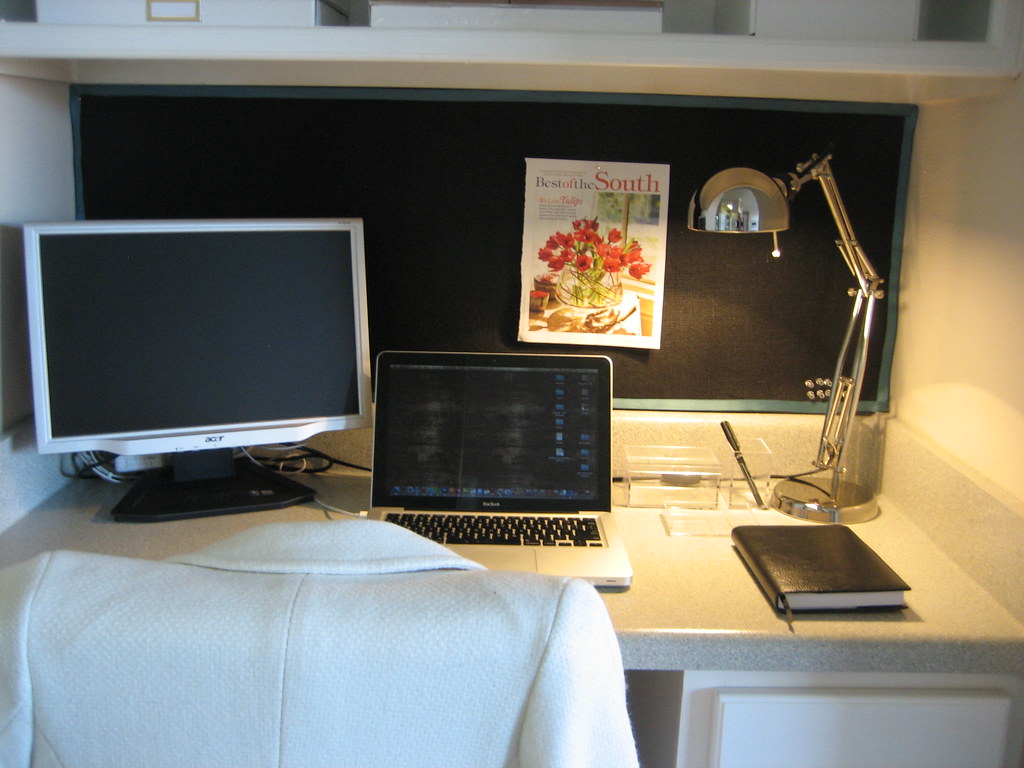
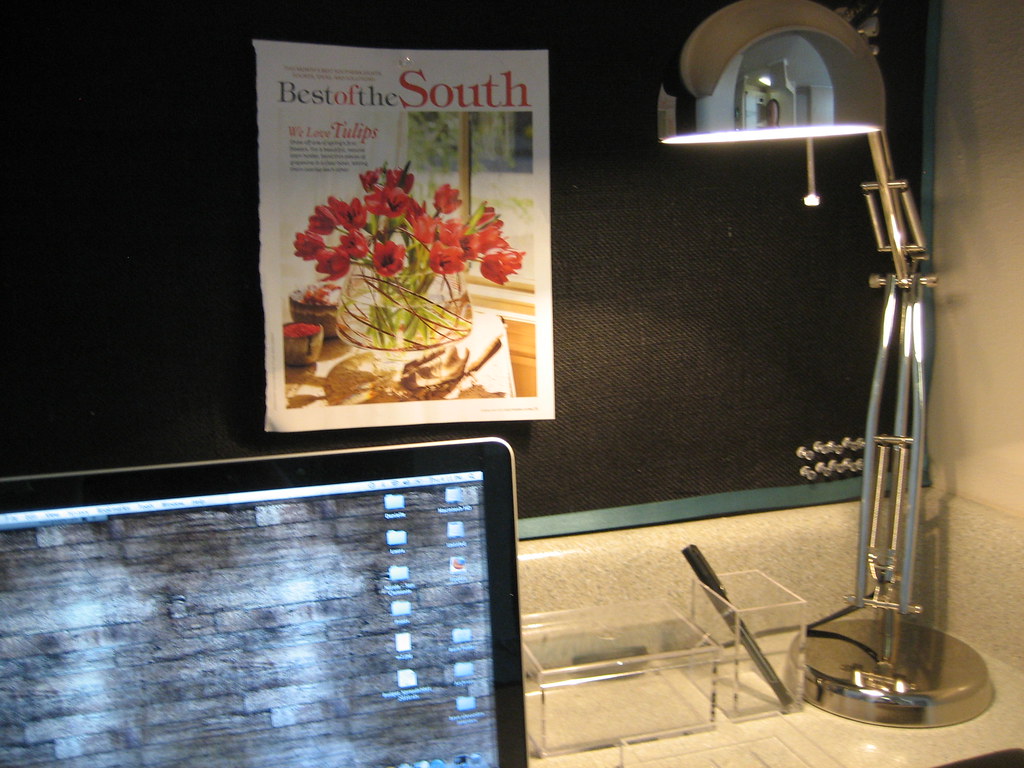


It's not 100% finished. The fabric isn't as tight as I would like so I am going to try to re-apply the fabric with spray adheasive. It's hard to DIY when all of your DIY tools are on a moving truck ;)

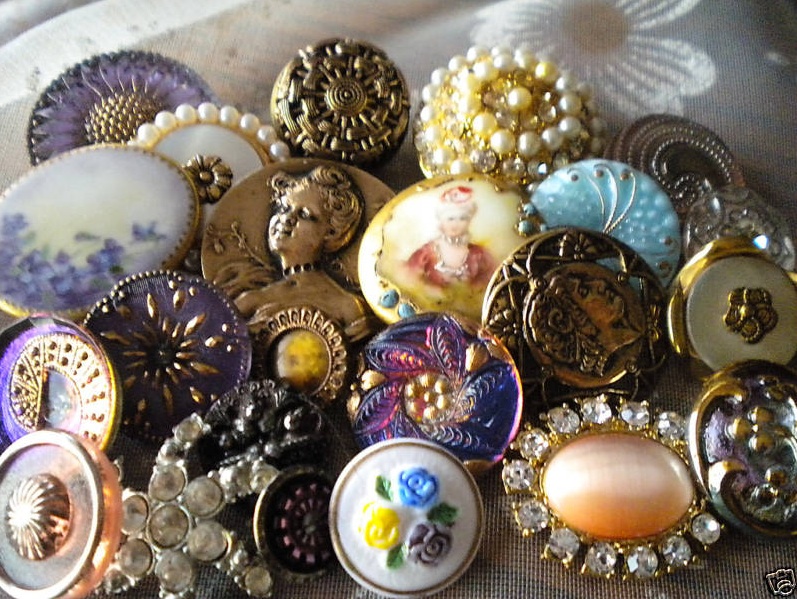
I'd also like to get some vintage buttons to cover the corners were the ribbon meets, something like these:


Do you like the lamp on my desk? Doesn't it look like it's from Restoration Hardware? Guess where it's from....... IKEA!


And the price tag is only $25. Run, don't walk, to your nearest Ikea and pick one up!

The lucite boxes on my desk are also from IKEA. They are actually for the bathroom but when I saw them I knew they'd be perfect for my desk to hold post-its, pens and misc. desk items.


You get all those pieces above for only $8!

(click on the IKEA images to go to the product pages)

So our boxes are supposed to arrive mid next week, I'm relieved. I enjoy unpacking much more than packing.
Related Posts Plugin for WordPress, Blogger...