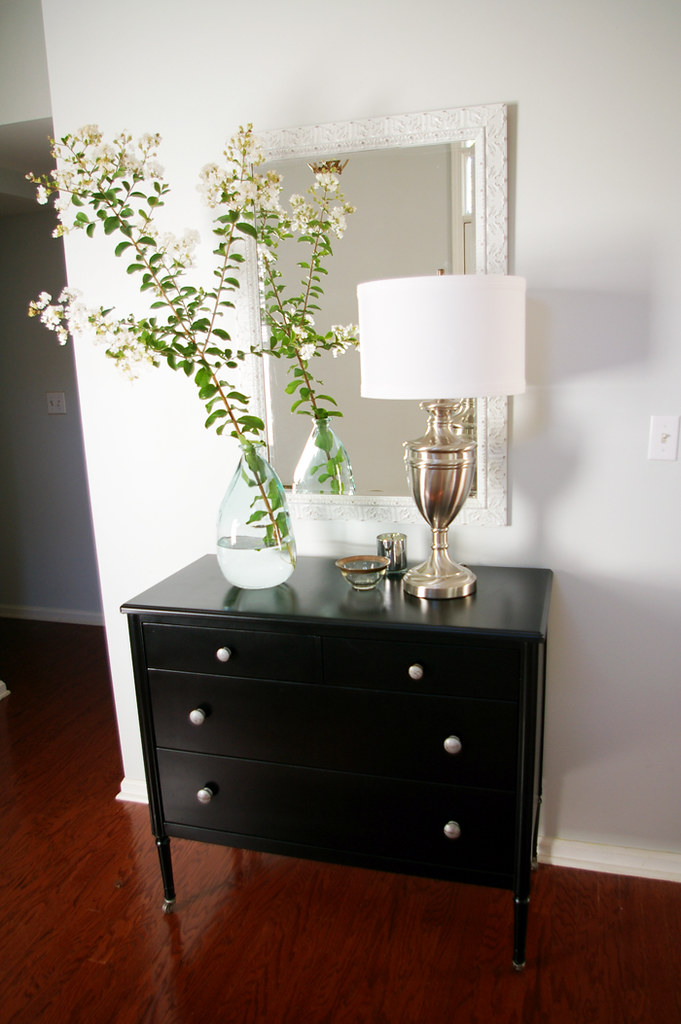
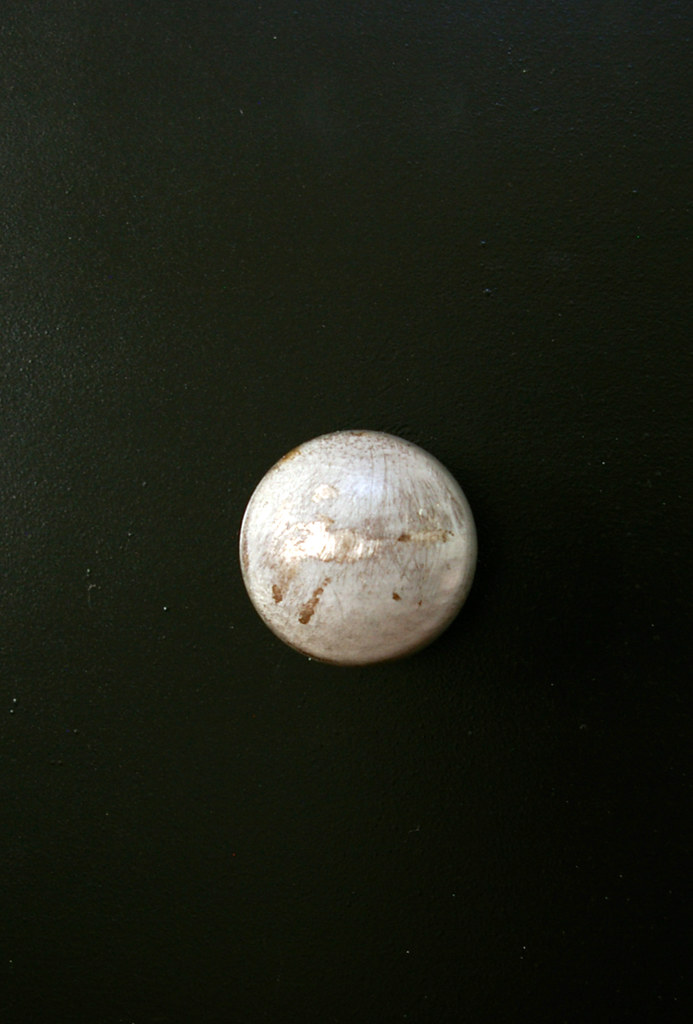
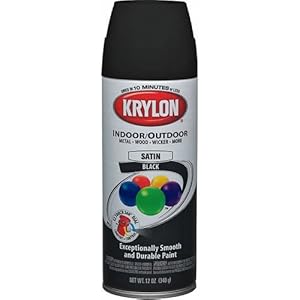
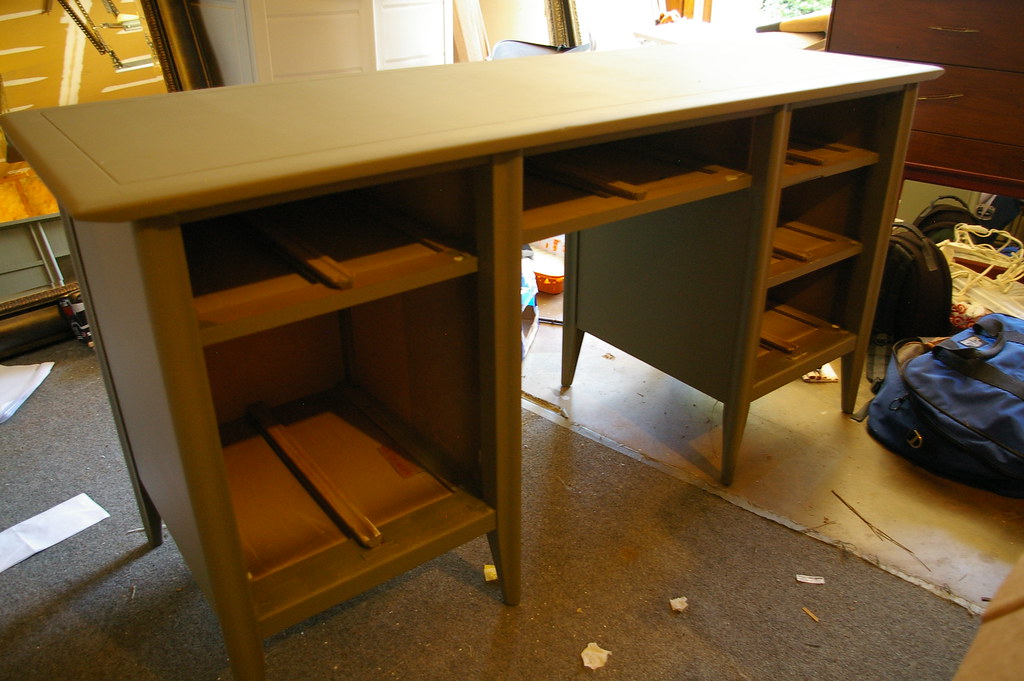
Occasionally I'll get emails asking how I paint furniture, so I thought I'd do a post all about it. I learned my process through trial and error, and I hope you find my tips helpful.
Speaking of painting furniture, do you may remember this piece I found a while back on Craigslist?

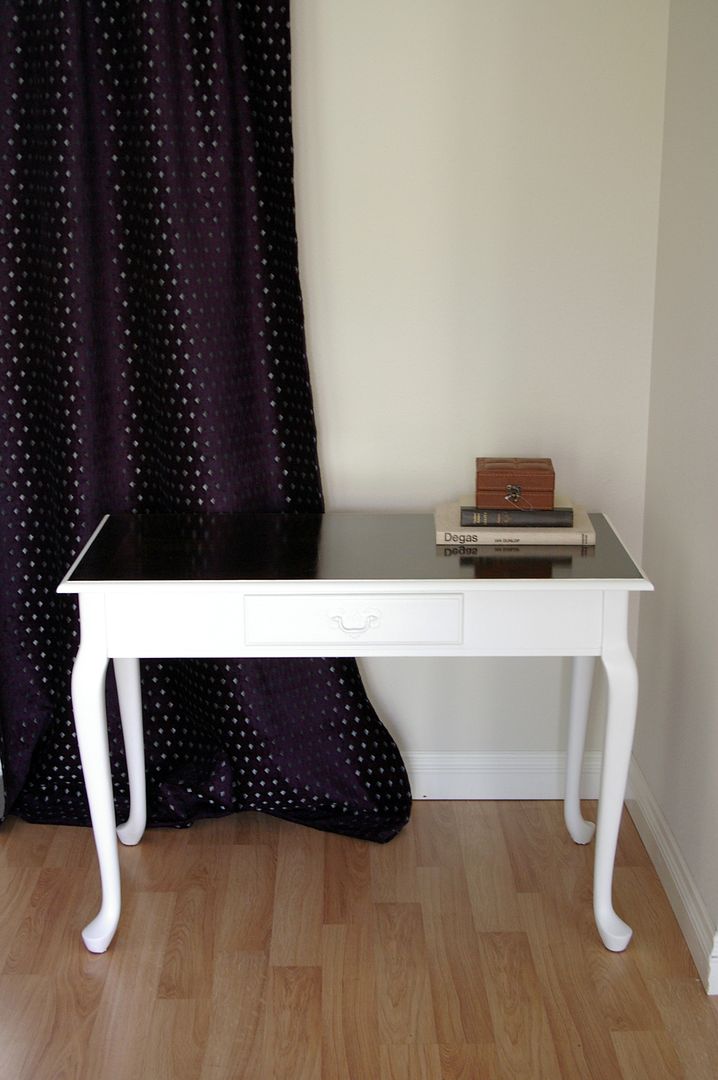
I re-stained the top a deep deep dark brown, and painted the bottom white (including the drawer pull). Here is the after:
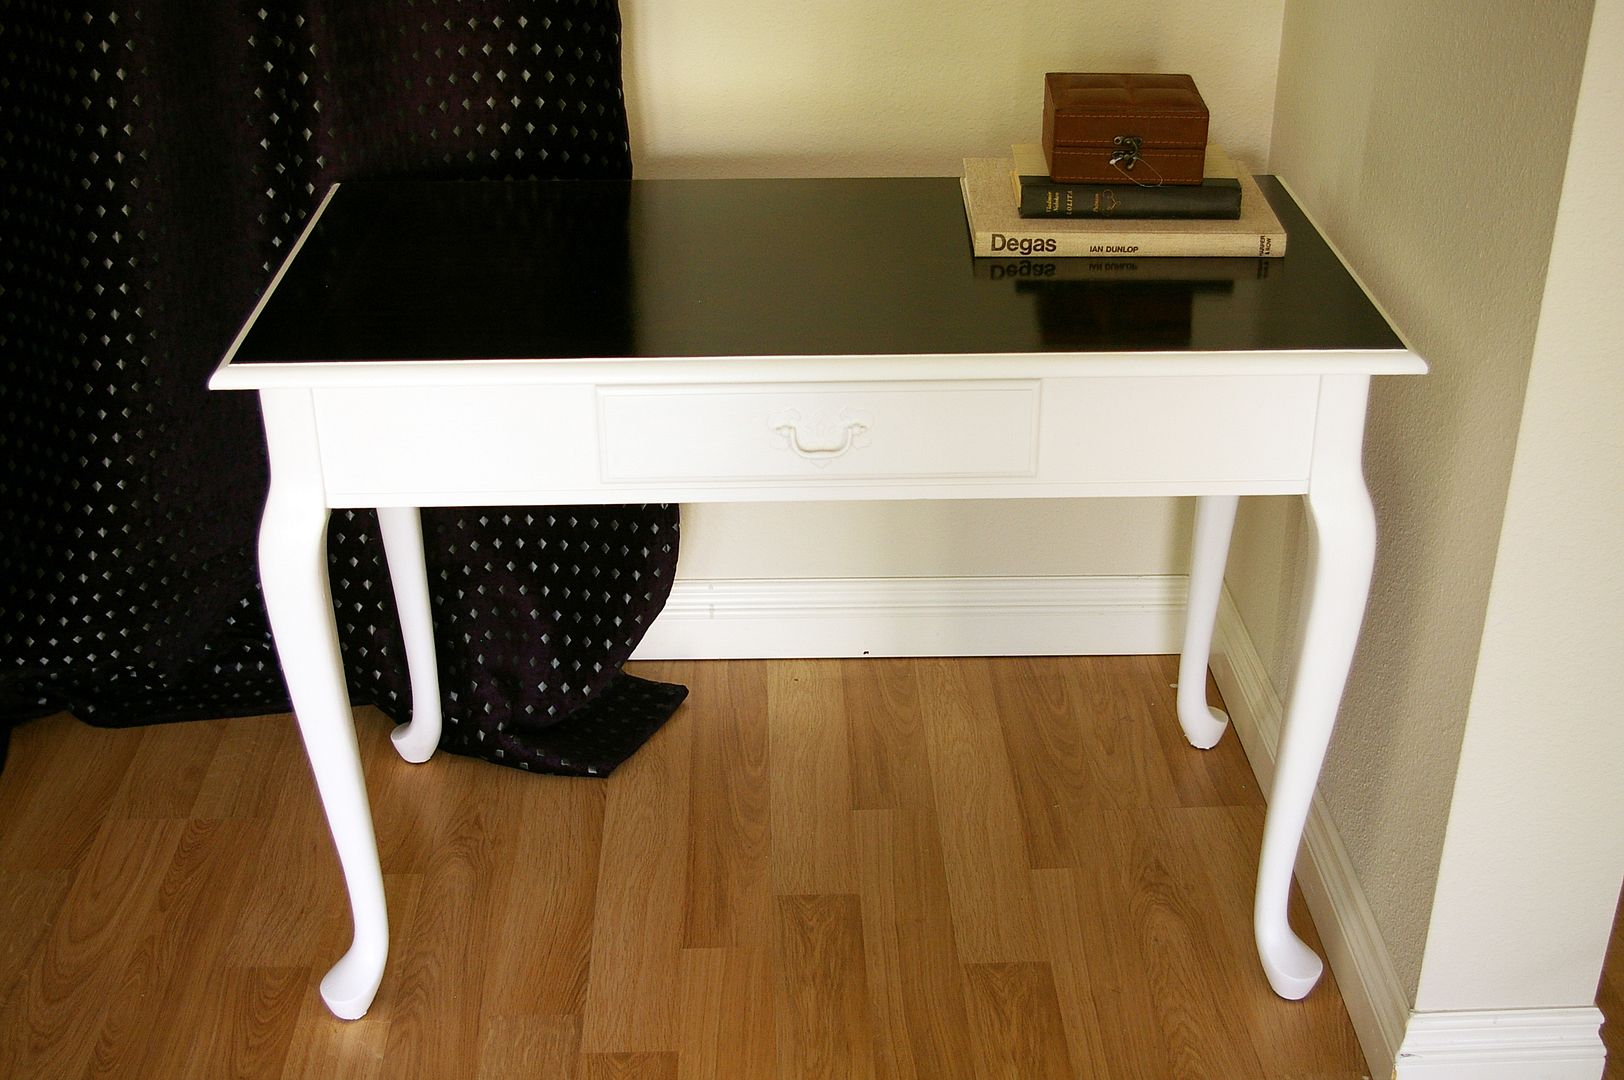
Let's get started....
Step 1 - CleanIf your piece of furniture is old, it probably has layers and layers of "grime". I simply use soap (something gentile like dishwashing soap) and water and paper towels to wipe everything off. A sponge works well too. Make sure everything is DRY before you get started.
Step 1b - SandI put this as step "1b" because the truth is, I don't always sand. In fact, I rarely sand. Some people swear that you HAVE to, and some people swear you don't have to. There are certain circumstances when I do:
- Sand if you are staining. If you are staining wood, you must sand down to the base layer, the "naked" wood.
- Sand if there are rough areas, knicks, dents or laminate.
My favorite item to use when sanding are sanding sponges. You can use them wet or dry; I always do dry. They come in different grits, the higher the number the softer the results. If you are staining, first strip the wood of anything with 60 grit. For regular projects, use the 100 or 150 grit sponges first to even out rough areas, then smooth with the 220 sponge. Be sure to get the sponges with the angled sides, they great for nooks on your furniture.


So back to the issue of sanding vs. not sanding.
If your furniture is in good shape, you don't need to sand as long as you prime and poly. I've learned this through doing both many times. If the furniture does have any imperfections, I just sand and smooth those areas and leave the rest of the piece as is. Here are some other reasons I usually choose not to sand:
- Let's be honest, it's really hard! It takes a lot of time and energy, even with the electric sanders.
- Even if you do the hard grit and then work your way up to the fine grit, the finish never seems to turn out as smooth as it was before you sanded.
- Lead paint.. I'm always afraid of sanding old painted furniture.
Step 2 - PrimePriming is an important step. I use Bulls Eye 1-2-3 Primer, I bought a huge tub of it a while back and am happy with it's performance:

I usually do 2-3 coats of primer, depending on the color and condition of the piece of furniture.
Here is one of my specific tips: I always use foam rollers. I get the best coverage with foam rollers, and never get brush marks or air bubbles. These foam rollers are my favorite:

A 6 pack like this is perfect for one piece of furniture. You'll use around two for the primer and around 3-4 for the paint. This brings me to another key point:
I always use a new roller for each coat. Sorry environmentalists out there - it's the only way I've found to really get a perfect finish. Remember, you want to let the paint dry completely between coats, and usually when it's time for a new coat the paint on the old foam roller has dried. I've tried in the past washing the rollers, but I can never a finish as perfect as the first time use.
For small nooks, use these:

These actually clean up pretty well, so you only need one of them. It's really just the rollers I like to replace.
Step 3 - PaintLet's discuss types of paint first. I always use your basic Interior paint you find at Lowe's, Home Depot, Benjamin Moore, etc. Nothing fancy like oil-based. Just plain latex paint.
I always buy FLAT and use poly as a finisher (I'll get to that later). Flat finish is the best because it's easy to sand (also get to that later) and doesn't show air bubbles or brush marks.
As I just mentioned, an important step in between coats is
sanding. Be sure to use your fine 220 sanding sponge for this step. Sand your piece lightly so that any and all air bubbles and strokes are sanded down and the finish is smooth. You MUST wait for the paint to completely dry before doing this step. Typically a start to finish paint job takes 3-4 days because of the waiting.
The job will take anywhere from 2-4 coats, depending on the color of paint. The more coats the better! You'll be able to tell when you've reached your last coat, the color will be rich and perfect.
Step 4 - PolySo what's poly? Here's a picture:

It's a protective gloss that gives your furniture a beautiful shine and durability. It comes in satin, semi-gloss or gloss. I like all three, it really just depends on what type of look you want. But I usually go with clear gloss.
If you are going to follow any tip of mine, please follow this one:
Buy Minwax Water-Based Polycrilic protective finish. The exact stuff from the picture above. I have purchased so many different types of poly's... water based, wipe on poly, regular poly, even those that claim to be completely clear... They all leave ugly yellow stains on your furniture. This is the only poly that leaves your white actually white and not off white. Trust me on this.
I've used both foam brushes and paint brushes for the poly step; I personally like foam brushes because you can toss them out (it's hell getting poly out of one of your good brushes). Just make sure to apply even, THIN coats and you'll be good. Especially watch out for drips, if you don't catch them they will dry and look like teardrops on your furniture :(
Sand in between the coats of poly, too. Except after the last coat of course, or it won't be shiny!
By following these steps, you should have a very nicely painted piece of recycled furniture. If anything is unclear or if I've forgotten anything, please do leave me a comment and I'll respond to all comments in this post for everyone to see.
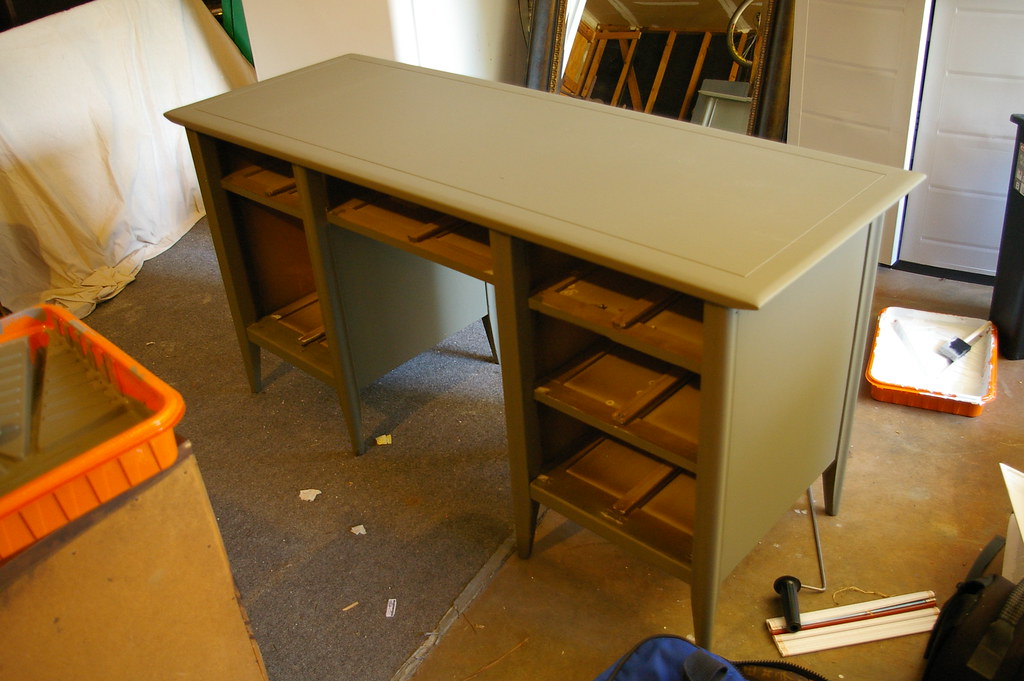
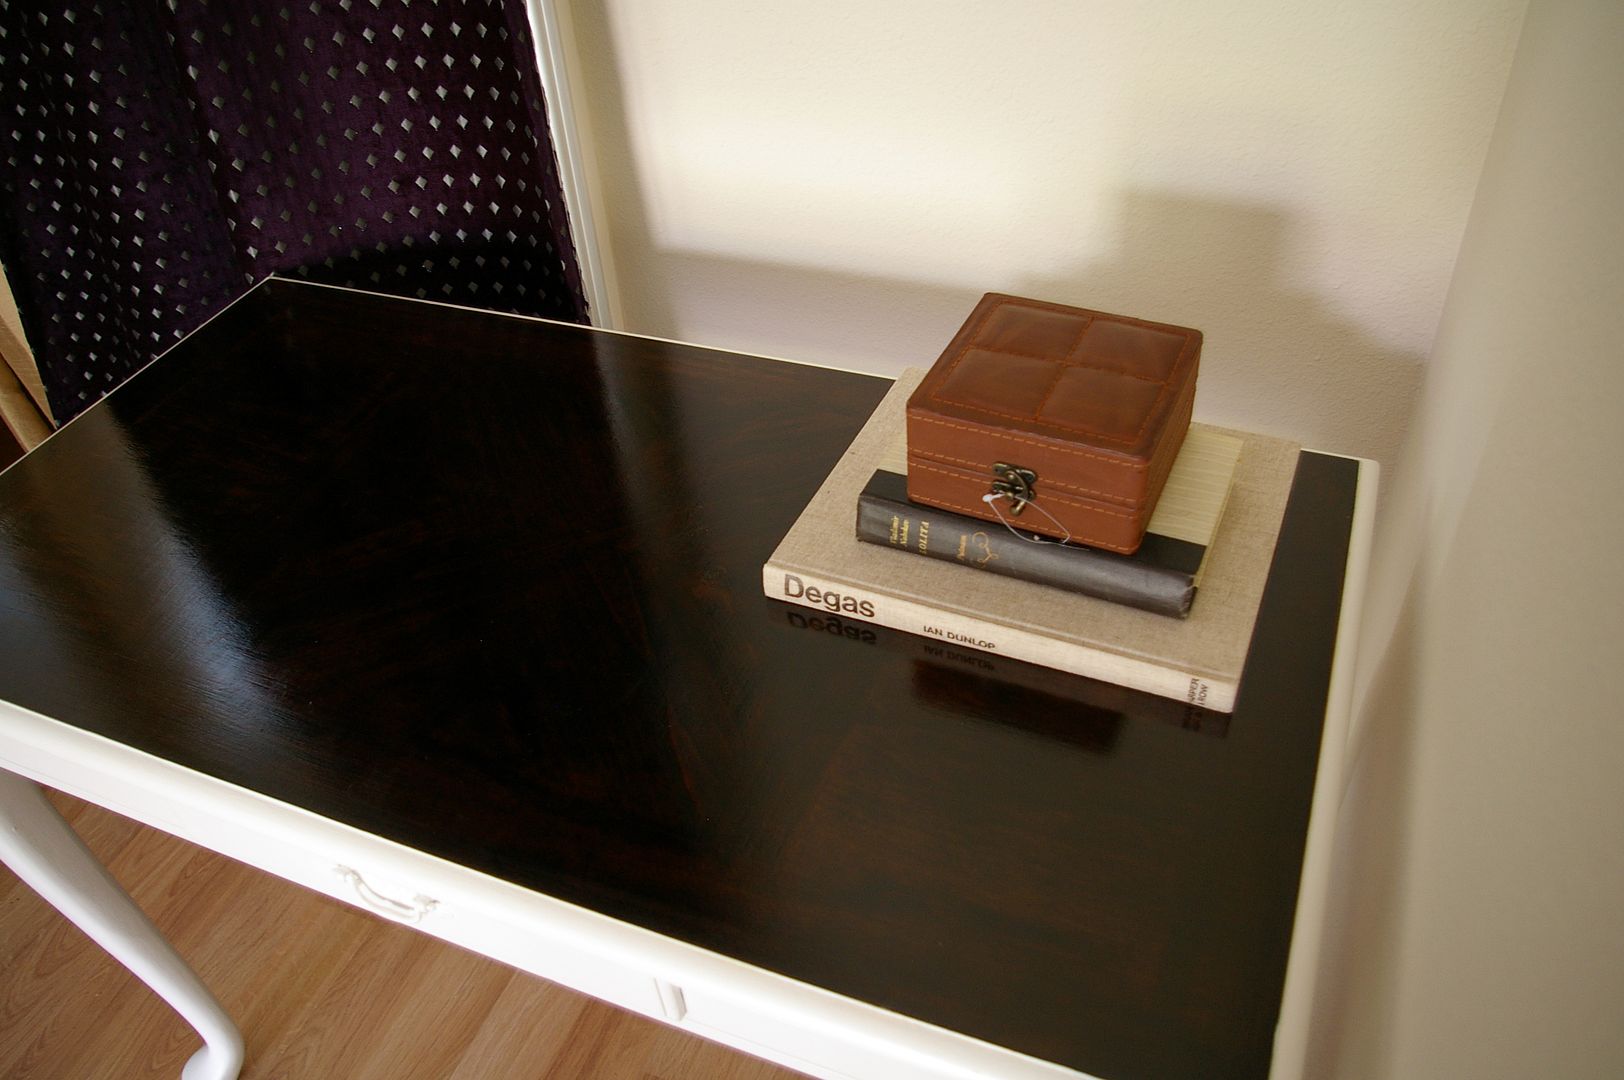
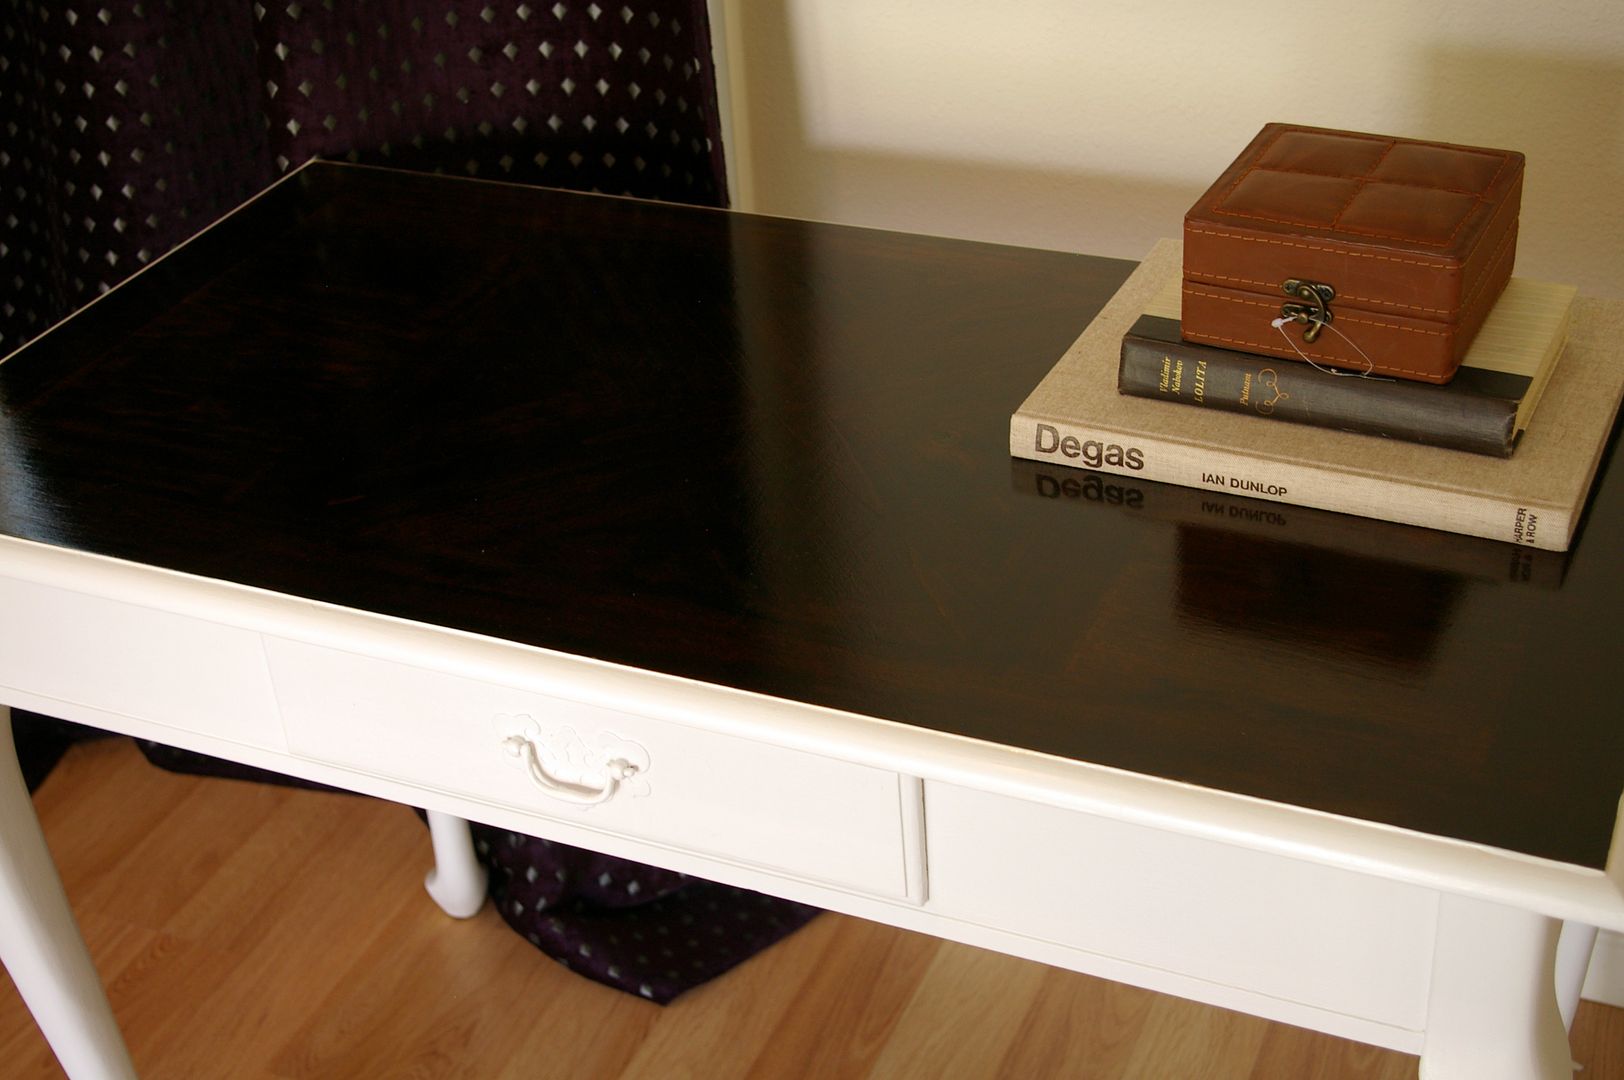
And with that I'll leave you with more pictures of my painted desk:
 Updated: Q&AQ: Bryn, do you have a favorite 'white' and favorite 'black' color/shade for furniture? There's a lot to pick from when it comes to black and white!
A: I actually don't have a favorite black... I haven't ever painted a piece of furniture black before! But when I paint my master bedroom black I'll definitely share which color that is. As for white, I really love Lowe's Valspar Bistro White. It's the white that I used on the desk in this post and it's a really great white and a good price.