Tuesday, November 29, 2011

A Personal Design Project Before & After

By the time you are reading this we are most likely back home in Charlotte from our Thanksgiving break in Texas with my family. We were there for 11 days and during that time I worked on a very special decorating project... my parents master bedroom!

A little background - I have mentioned before I come from a family of engineers and doctors. I guess you could call me the "black sheep". My dad is a computer engineer/programmer, my mom is a mathematician. She tutors math and is writing a math text book. One brother is a doctor and the other is a mechanical engineer. And then there's me.. ha!

My parents have never been into decorating and have had their current bedroom suite for 10+ years. I was so excited when they finally asked me to help them revamp their room. We had SO much fun doing it and they love the result.. which is the best part! It's very nerve-wracking decorating for your parents ;) I love the result, too and it was fun letting them see me in action.

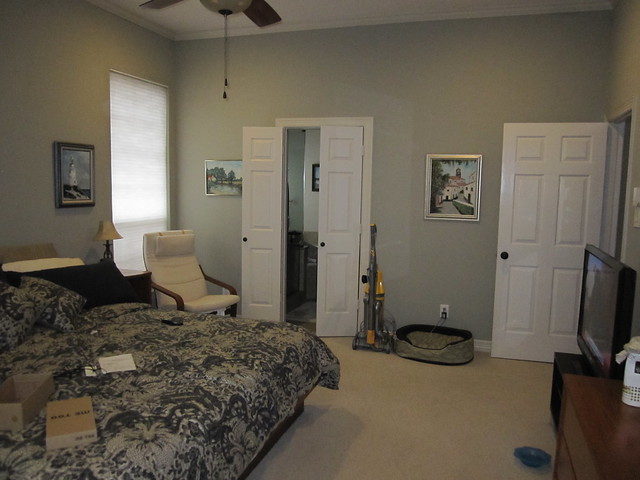
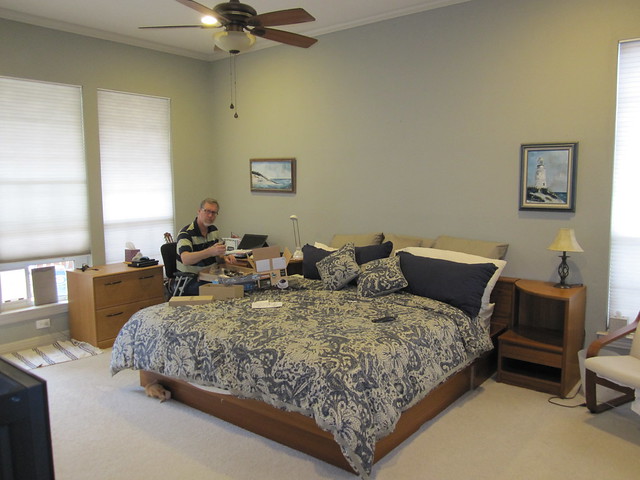
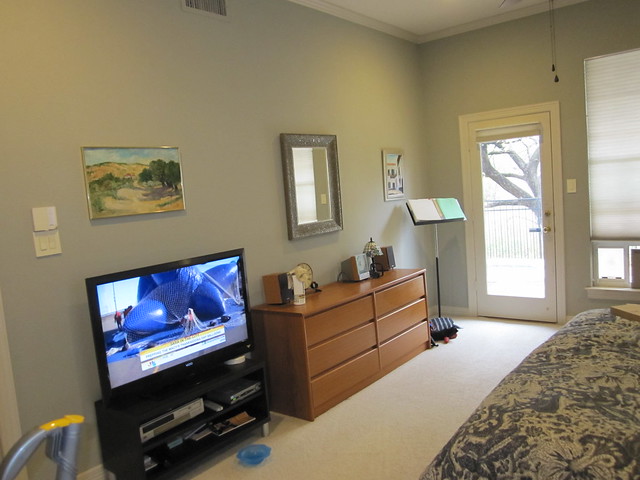
Here are the before shots. My dad was cleaning out his desk and wasn't too excited to be in the pictures.. sorry Dad!!
001

002

005

As I mentioned, they have had this teak bedroom set FOREVER! Time for a change. We were on a tight budget.. here are the things we did to change up the space:

- New furniture (bed, nightstands and dresser)
- New neutral, solid bedding
- Rearrange Current Artwork
- Curtains

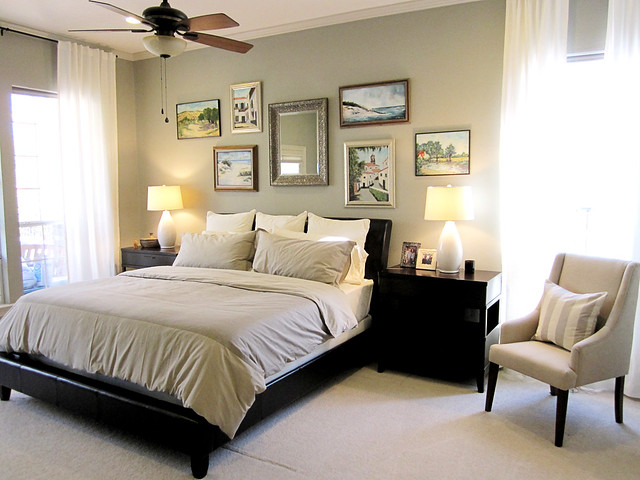
Here are the afters!
009 copy

The artwork made my job easy. All the pieces were painted by either my grandmother or my great-grandmother. My parents previously had the paintings all around the room but I grouped them together to create a focal point above the bed. Two of the frames were previously brass but we painted them espresso to modernize the frames.

014 copy

The case goods and bed were purchased at Weirs in Plano, Texas. I picked out the furniture (along with the approval from my parents). I LOVE the dresser and nightstands we found... they look so much more expensive than they were.

I originally suggested a linen upholstered bed but we settled upon this one. In the end I'm glad we did, it helps anchor the room.
030

022 copy

The nightstands are very large and works really well with the scale of the king sized bed and large room.
011 copy

A collection of my parents books that fit them perfectly..

027

Not only are my parents smart, they are both wonderful musicians. My mom plays the flue and my dad plays the guitar. Making room for their music things were important.
024

Here is all the info for the quick project:

Bed, Dresser & Nightstands - Weirs - $1,556
Accent Chair - World Market - $125 (we got it on sale)
Curtains - IKEA Ritva - $35 per panel ($70)
Curtain Hardware - IKEA Beskada (I kept the caps on and didn't use the finials) - $18
Lamps - Home Goods - $40 each ($80)
Bedding - IKEA Malou - $50
Throw Pillow on Accent Chair - IKEA - $17
Existing Wall Color - Ralph Lauren Beach

Total: $1,916 (our budget was $2,000)

Thanks Mom & Dad!! I had soo much fun!

Monday, November 28, 2011

DIY Ruffled Christmas Tree

I was recently asked by Waverly to be a part of their 12 Waverly Bloggers of Christmas! We will be creating DIY holiday crafts with Waverly materials. The series runs from today (I'm up first!) until 12/23.

Blocker

My holiday craft idea came from Pinterest when I saw a pin for this ruffled tree skirt:


I have a couple feather trees that I got last year and I thought a ruffled tree would look great with them.

This project is SO easy! The materials are:

- A hot glue gun
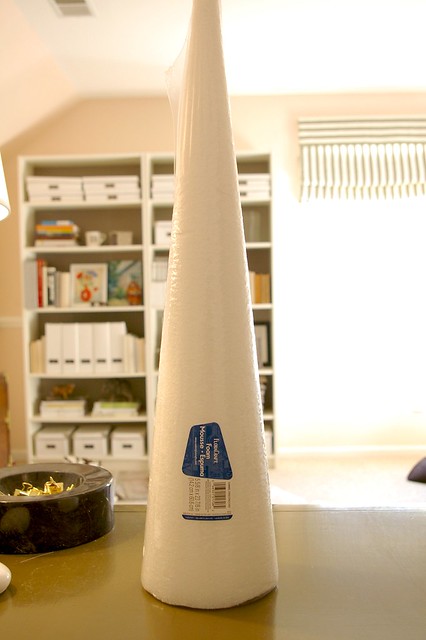
- A Styrofoam tree form
- Fabric (one sheer and one solid works well)

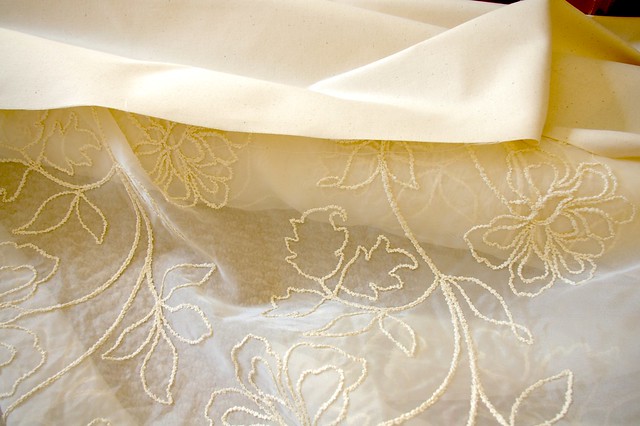
I chose Waverly's Peony Organza for the sheer and for the solid I chose Heritage Natural. You can search all of Waverly's fabrics on their website here.

IMGP1639

This is the Christmas tree shaped cone I purchased at Michaels for this project:

IMGP1648

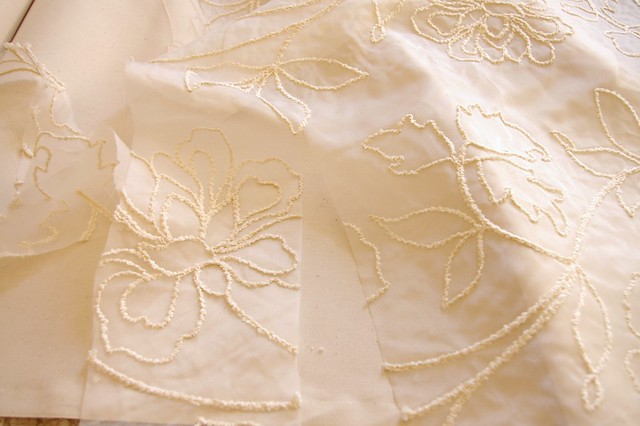
I really liked the look of the frayed edges on the ruffle skirt above, so I decided to rip the solid fabric instead of cut it.

IMGP1650

I measured all my pieces to be four inches wide (as shown). Just cut a little bit and then rip the rest and the piece will rip evenly.

The sheer can't be ripped because of the chenille peonies, so I cut these pieces very carefully to make sure the edges were even. These pieces are also four inches wide.
IMGP1653

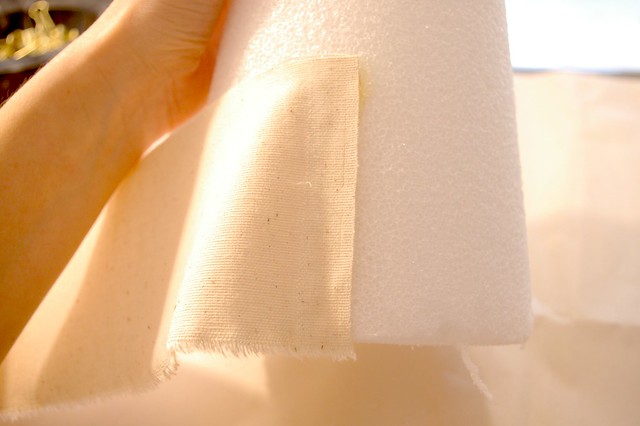
To start, I glued the end of the solid fabric onto the cone:
IMGP1658

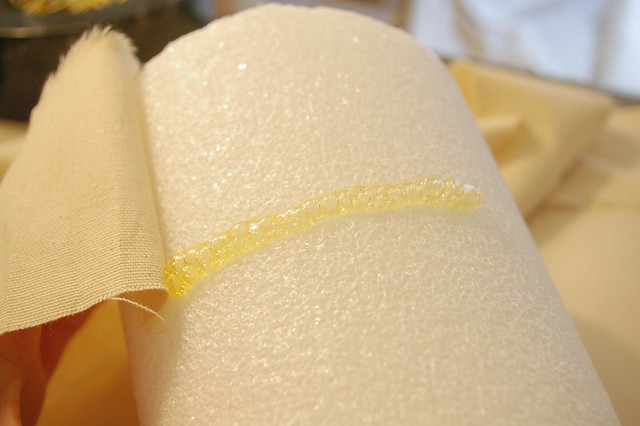
And then added a line of hot glue to start the ruffling:

IMGP1659

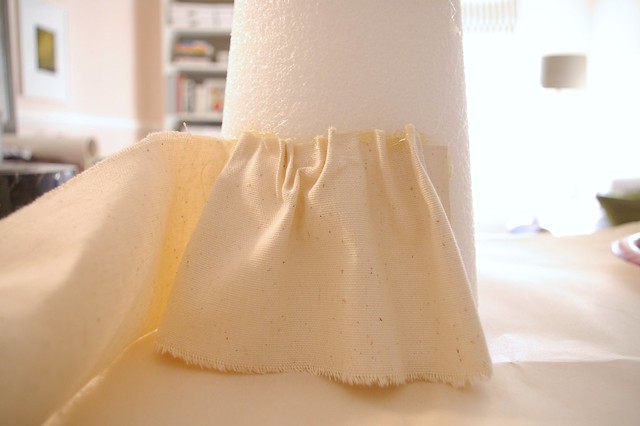
You want to work in small sections like this. The ruffles don't have to be perfect (in fact it looks better if they aren't). Just bunch up the fabric and glue, it's very simple and there is no right or wrong way.

IMGP1664

Be very careful!! The hot glue is very hot and my fingers were tender after this project.

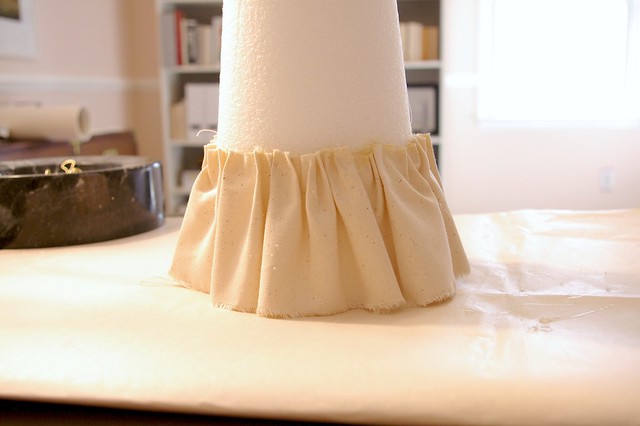
Here is the finished first layer:
IMGP1666

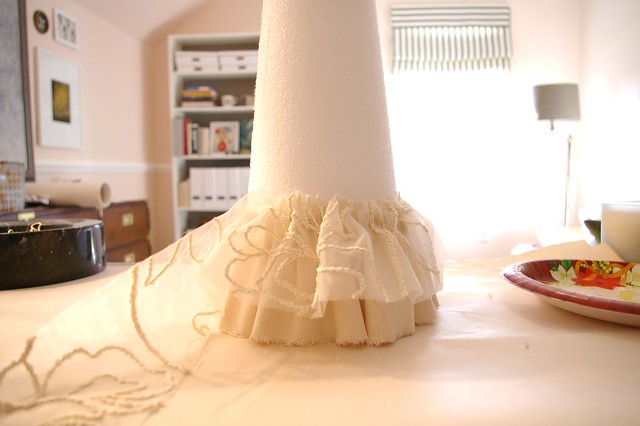
Next add a ruffled layer of your sheer right above the solid:
IMGP1670

To make sure you don't cover up the pretty sheer layer, add the next solid layer an inch or so higher than the sheer:

IMGP1672

You'll repeat these steps until you get to the top! When I got to the top I just gathered and glued the sheer carefully to make sure it looked pretty when pleated :)

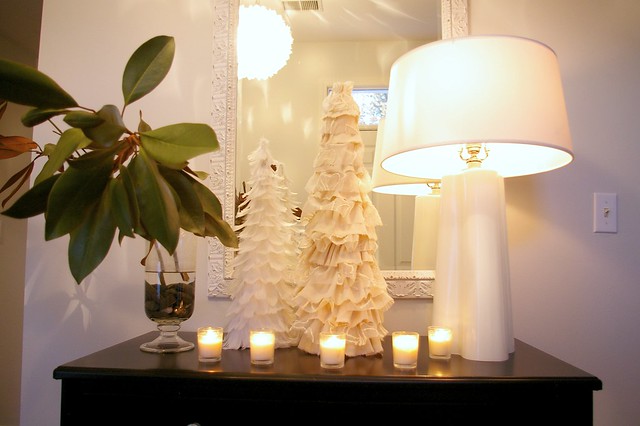
And here is the final result!

IMGP1692

And here is my new fabric tree with the feather tree I mentioned earlier.
IMGP1698

Go to Waverly's facebook page to enter to win two $100 gift cards to JoAnn Fabrics and Michael's so you can create your own Christmas blogger diy craft!

Thanks Waverly for including me, it was really fun!

Tuesday, November 22, 2011

A Look Back

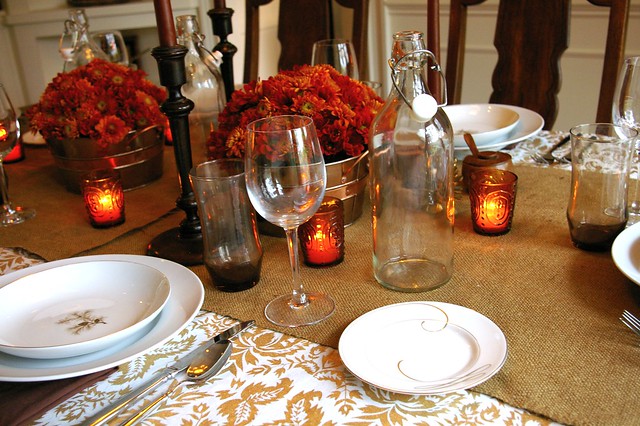
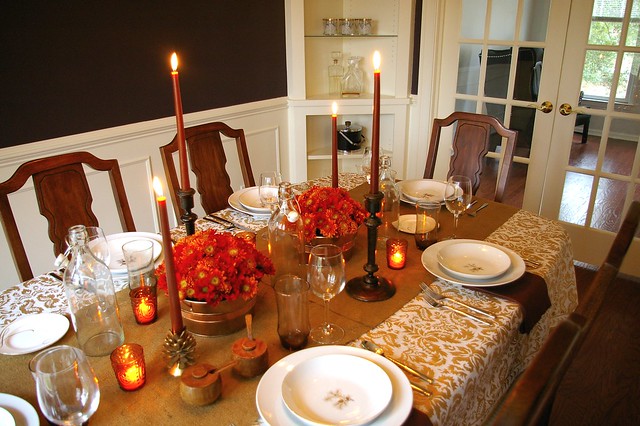
Last year we hosted Thanksgiving and I thought it'd be fun to take a look back at our table. Of course decorating the table was my favorite part!


This year we're not hosting either Thanksgiving or Christmas. We're in Texas visiting my family and I'm helping my parents redecorate their bedroom.. so fun!!

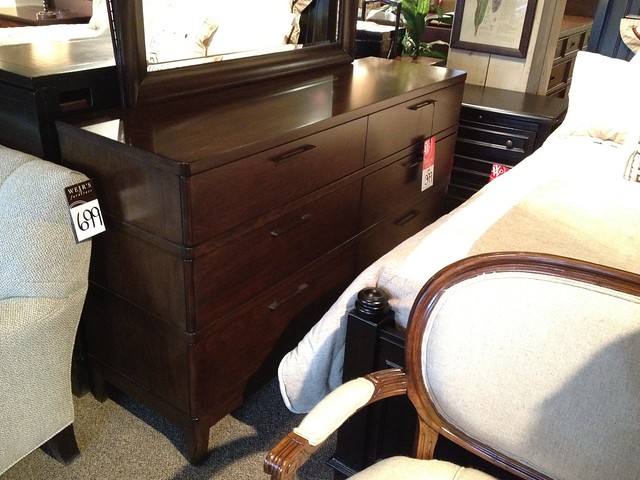
Yesterday we went furniture shopping and found some really great things. We went to Weirs and I couldn't believe the prices! If you live in the Dallas area, this place is great. We got this awesome dresser for only $399!!

photo

I'll definitely be showing you the before and afters!
Related Posts Plugin for WordPress, Blogger...