I've been working on the home office for one of my clients. She works from home so the office must be super functional. I decided to have two desks for her - a "work" desk for her 9 to 5 and her "life" desk for everything else.
For her "work" desk, this was our inspiration:
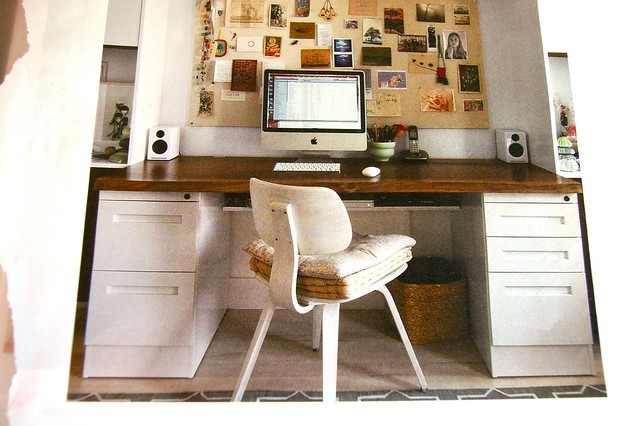
I went with these elements from IKEA to "build" her desk:
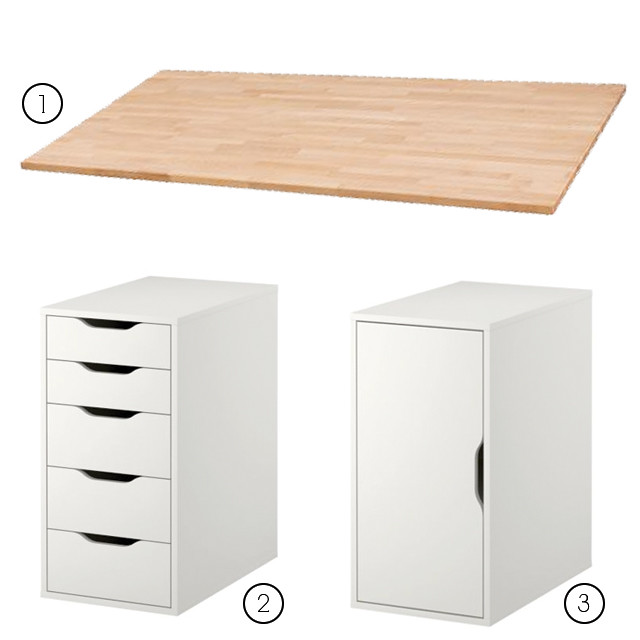
1, 2, 3
When I purchased the top, I knew I would have to stain it to achieve the same look as the inspiration picture. I was, however, pleasantly surprised to find the desk top to be in it's completely natural state - no sanding was required!! Hence the "quick and easy" part of this DIY.
I pre-treated the wood with this:

I then used this stain:

The color is "Early American" and the little can is more than enough for this project. I used two coats and followed the instructions on the can.
Once the stain was completely dry, I used two coats of this (again, following the instructions on the can):

I used satin because I just wanted that subtle glow, like well-oiled wood. I'm not a huge fan of gloss on wood.
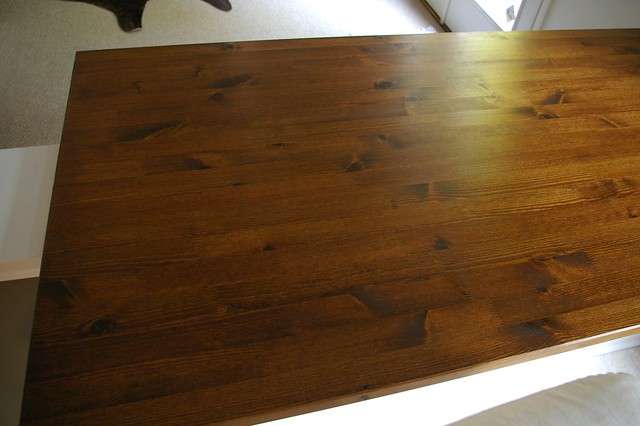
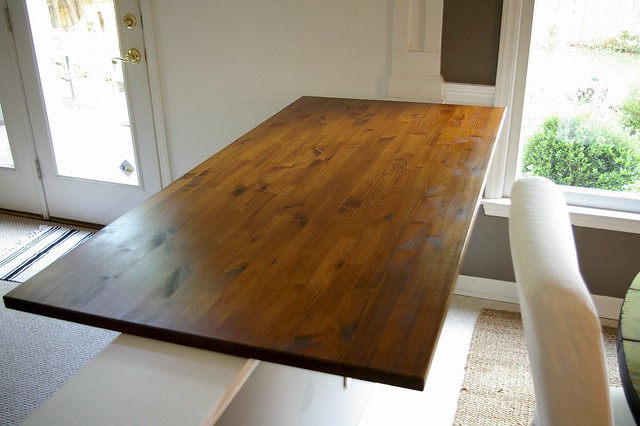
And here is how it turned out - very similar to the inspiration picture!
I snapped this picture last week after putting together the desk storage pieces:
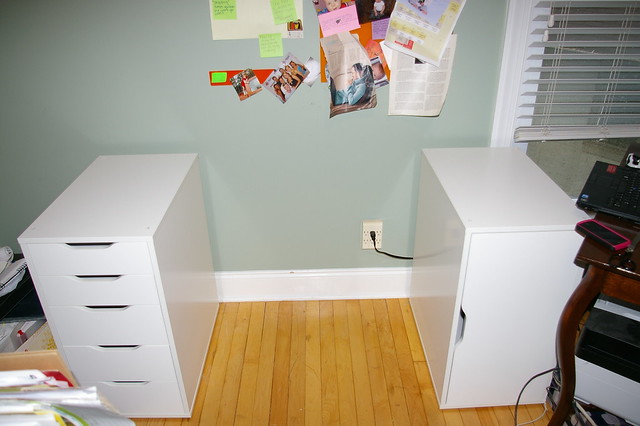
I'll be bringing their top over later today :)
I pre-treated the wood with this:
I then used this stain:
The color is "Early American" and the little can is more than enough for this project. I used two coats and followed the instructions on the can.
Once the stain was completely dry, I used two coats of this (again, following the instructions on the can):
I used satin because I just wanted that subtle glow, like well-oiled wood. I'm not a huge fan of gloss on wood.
And here is how it turned out - very similar to the inspiration picture!
I snapped this picture last week after putting together the desk storage pieces:
I'll be bringing their top over later today :)